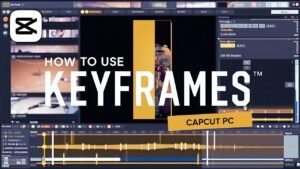
Want smooth animation and more control in your CapCut edits? You’re in the right spot. This guide breaks down exactly how to add keyframe in CapCut PC. Whether you want to make objects move, edit effects, or just step up your video game, you’ll learn all the basics of keyframes in CapCut PC right here.
CapCut PC is popular for both quick social edits and detailed video projects. But to really bring your videos to life, understanding how to use keyframes is key. Let’s jump right in.
What Are Keyframes in CapCut PC?
Keyframes let you create smooth changes over time—think movements, fades, or rotations. With keyframes, you set a “start” and “end” point for any edit, and CapCut animates the motion in between.
Here’s what you can do with keyframes in CapCut PC:
- Move video elements across the screen
- Fade in or out
- Rotate objects
- Zoom in or out
- Adjust effects or color at specific moments
They work like digital Post-it notes: tell CapCut, “At this moment, I want this setting,” then “Later, I want this other setting.” CapCut fills in everything between, so you get smooth animation and pro-looking results.
Step-by-Step: How to Add Keyframes in CapCut PC
1. Open Your Video in CapCut PC
Start CapCut PC. Import the video you want to edit. Once it’s in your timeline, you’re ready for keyframes.
2. Pick the Starting Point
Drag your playhead (the white vertical line) to where you want the animation or change to begin. This is your starting keyframe.
3. Select the Video Clip
Click the video on the timeline. This loads the options for that clip up in the top right corner of your screen.
4. Find the Keyframe Icons
Look for the small diamond-shaped icons in the top right menu. These are your keyframe buttons. You’ll see them beside options like Position, Scale, Uniform Scale, Rotate, and even inside Adjustment menus.
- If you see the diamond icon, you can keyframe that property for smooth changes.
5. Add Your First Keyframe
With the playhead at the starting point, click the diamond icon next to the property you want to animate (example: Position). A tiny diamond now shows up in your timeline at that spot—this is your keyframe.
6. Move to the End Point
Move your playhead forward to where you want the change or animation to end.
7. Adjust the Setting
Change the property (for example, drag your video to a new position to make it move across the screen). CapCut automatically creates a second keyframe.
8. Preview the Animation
Press play to see the result. Your video now smoothly animates between the two points, thanks to the keyframes you set.
Quick Recap Table: Adding Keyframes in CapCut PC
| Step | What to Do | What Happens |
|---|---|---|
| 1 | Import your video and add to the timeline | Video shows up onscreen |
| 2 | Move the playhead to your starting point | Choose where animation starts |
| 3 | Click your video to show keyframe options | See diamond icons appear |
| 4 | Click the diamond keyframe icon next to a property | First keyframe appears |
| 5 | Move to a later moment and change the property | Second keyframe appears |
| 6 | Play the video | Animation happens between keyframes |
Where Can You Use Keyframes in CapCut PC?
With CapCut PC keyframes, you aren’t limited to just position changes. Use keyframes on:
- Scale (zooming in/out)
- Uniform Scale (proportionate zoom)
- Rotation
- Color adjustments (brightness, contrast, etc.)
- Special effects (if the effect supports keyframe editing)
- Opacity/Fade
You can experiment with these different settings to make your content unique. Tweak keyframes for each property as needed right from the timeline.
Tips for Using Keyframes in CapCut PC
- Zoom in on the timeline to see your keyframes more clearly.
- If you make a mistake, just move the playhead to the keyframe and adjust your settings.
- Don’t forget: keyframes can be stacked for more complex effects. For instance, move something while fading it out.
- Standard video elements support keyframes. Some effects or transitions may need extra steps or not support keyframes directly.
- Play your video often while editing to check the animation smoothness.
Real-Life Example: Move an Object from Left to Right
Let’s say you want your video to move from the left side of the screen to the right.
- Set the playhead at the start, position your video all the way left.
- Click the Position keyframe icon to mark this spot.
- Move the playhead to the end point on the timeline.
- Drag your video to the right side of the screen.
- CapCut auto-creates the final keyframe, so your video slides left to right.
Hit play and see the motion play out seamlessly!
Using Keyframes for Effects and Color Changes
Want to animate an effect—like color grading or filters—using keyframes? In the Adjustment panel, look for diamond icons next to each property.
- Start by setting a keyframe where you want the effect to begin.
- Move the playhead and adjust the setting for how you want the effect to look at another moment.
- CapCut will animate the change from your first to your last keyframe, auto-filling any in-between steps.
Fixing Common Problems with Keyframes
If you run into issues:
- Can’t see the keyframe icons? Make sure you’ve selected the right clip and are looking at supported properties.
- Animation too fast or slow? The distance (in time) between keyframes sets animation speed. Closer = faster, further = slower.
- Changes not showing? Double-check you added a keyframe for both the start and end of the desired change.
Why Keyframes Matter in CapCut PC
If you want videos that stand out, mastering how to add keyframes in CapCut PC is essential. They let you animate movement, effects, text, and transform any dull cut into something eye-catching.
Other creators use keyframes to:
- Highlight text and titles with smooth entrances.
- Make b-roll clips fly in, rotate, or shrink/grow for style.
- Animate filter intensity for dramatic mood changes.
With just a few keyframes, your edits will look much more dynamic and professional.
Frequently Asked Questions About CapCut PC Keyframes
Can you add keyframes on effects in CapCut PC?
Yes. In the adjustment and effect controls, look for the diamond icon. Use it the same way as for position or scale.
How do you delete or move a keyframe?
Move the playhead to the keyframe, right-click, and select delete. You can also drag keyframes to a different timeline spot if you need to tweak timing.
Are keyframes available on CapCut mobile?
Absolutely, but the interface is a bit different. This guide focuses on CapCut PC for clarity and desktop power.
Key Takeaways: Mastering Keyframes in CapCut PC
- Keyframes = smooth animation. Add and adjust them for pro results.
- Use keyframes on position, scale, rotation, and effect controls.
- CapCut PC keyframe tools offer intuitive controls. Look for the diamond icon next to editable properties.
- Experiment with different properties. There’s no wrong way to try new things in your edits.
- Practice makes perfect. The more you use keyframes, the easier and faster it becomes.
Conclusion
Now you know how to add keyframe in CapCut PC for movement, effects, and more. You just select your timeline moment, click the diamond icon, adjust your property, and repeat at every spot you want things to change. In no time, you’ll be animating like a pro—whether you want to zoom, spin, move, fade, or color shift any part of your video.
Ready to make your edits stand out? Open CapCut PC, drop your clip on the timeline, and try keyframing today. Whether you’re just starting or looking to perfect your next video, this is the tool you need to create smooth, impressive animations. Enjoy editing, and don’t forget to explore all the different ways keyframes can level up your creative projects with CapCut PC!
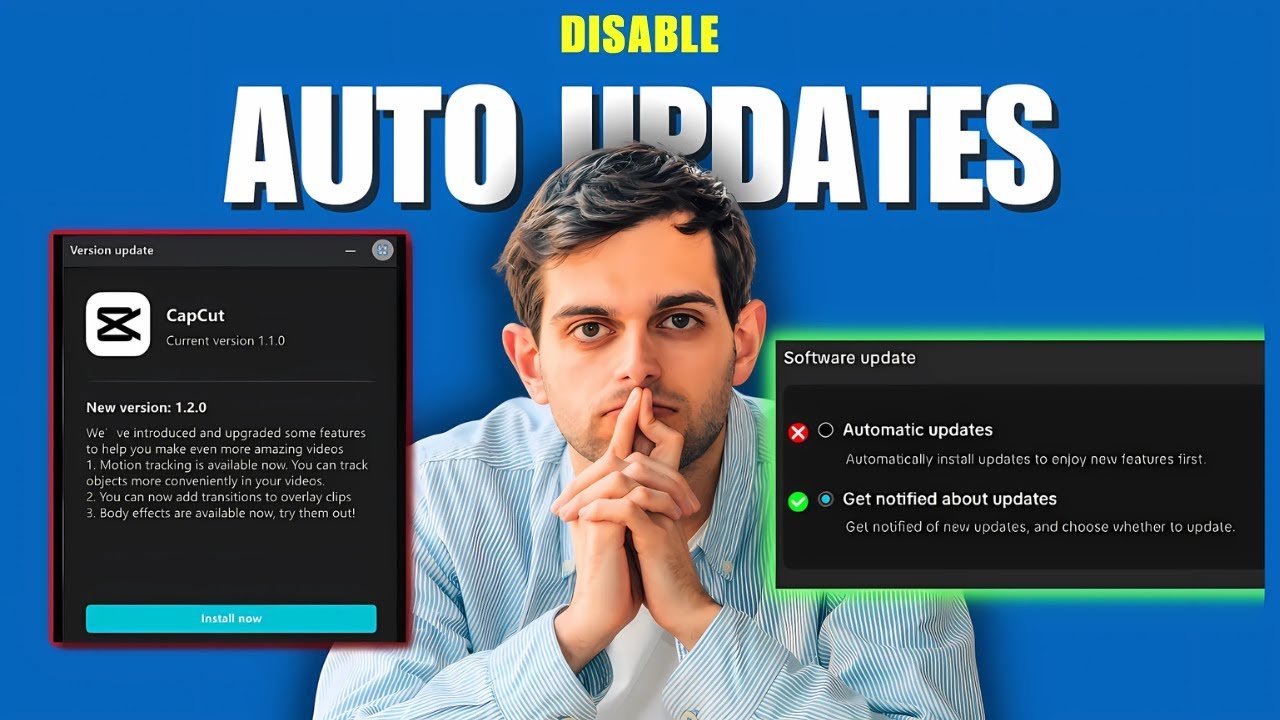
Want To Learn How to Stop CapCut’s Annoying Auto Updates. Here’s a Step-by-Step Guide Article on how to do so.


