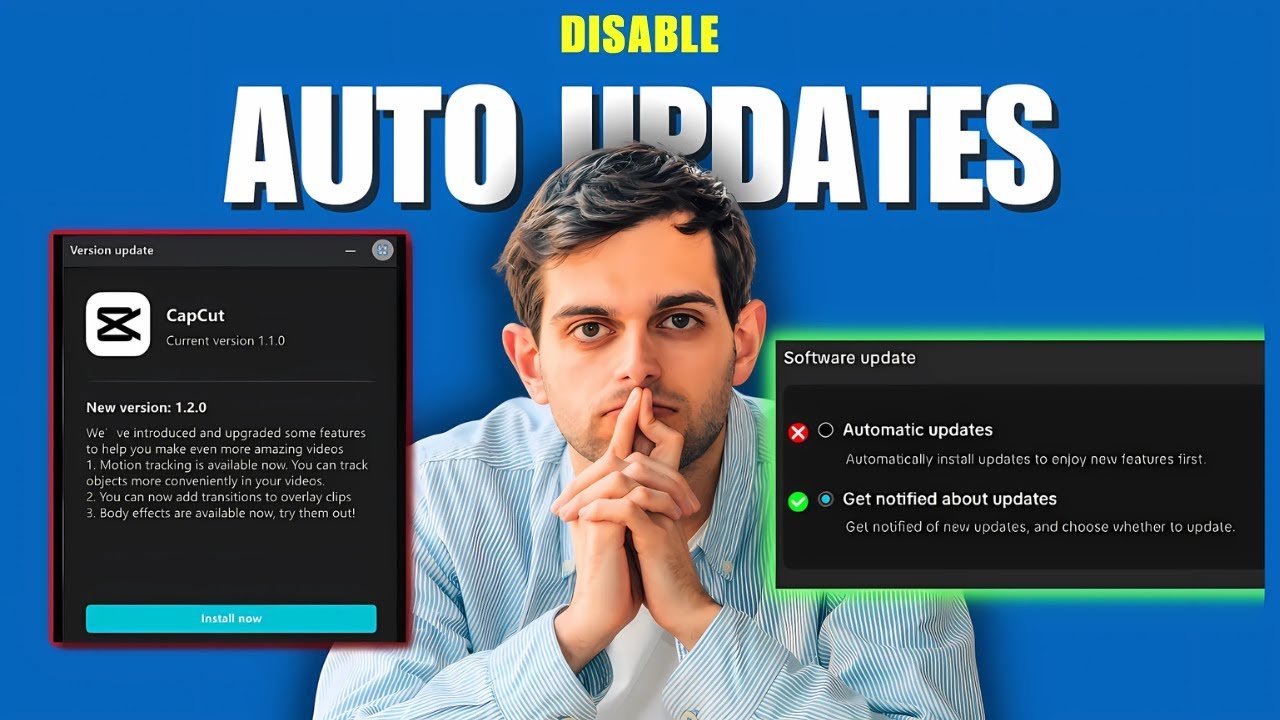
CapCut’s a fantastic video editor, right? It’s packed with features and super user-friendly. But those automatic updates? They can really mess with your flow. Imagine being in the middle of a project, and suddenly, everything shifts! That’s why we’re going to show you how to take control.
This guide is all about disabling auto-updates in CapCut on your PC. Sorry, mobile users! You’ll need to tweak your app store settings instead. But for those of you on desktops, let’s get started and learn how to turn off auto updates on CapCut for PC!
Why Should You Turn Off Auto Updates in CapCut?
There are actually some pretty good reasons to stop automatic updates. Here’s a quick rundown:
- Keep Your Workflow Stable: Ever had an update change something you relied on? No fun! Turning off auto-updates lets you avoid unexpected changes that could mess up your current projects.
- Update When YOU Want: Why be forced to update at the worst possible time? This way, you can choose when to update CapCut, fitting it into your schedule.
- Avoid Unwanted Features: Sometimes, new features aren’t actually that great. They might clutter up your workspace with things you don’t even need.
- Save System Resources: Updates can be resource-intensive, especially if you’re working with older hardware. Disabling them can free up bandwidth and processing power.
Of course, there’s a downside. You might miss out on bug fixes or new features right away. But at least you’re in control! And it can also ensure you aren’t turning your computer into a brick by bogging down your computer’s memory.
Step-by-Step: How to Turn Off Auto Updates on CapCut for PC
Ready to ditch those automatic updates? Here’s how:
Step 1: Launch CapCut
Pretty simple: Open the CapCut application on your PC. Look for the CapCut icon on your desktop or in your Start menu.
Step 2: Find the Settings Menu
In the top right corner of the CapCut window, click on the Menu icon. It looks like a screw or gear. It might be a little small, but it’s there!
Step 3: Go to Settings
A dropdown menu will appear. Select Settings from the list of options.
Step 4: Open the General Tab
In the Settings menu, find and click on the General tab. This will take you to the general application settings.
Step 5: Find Software Update Settings
Scroll down until you see the Software Update section. It should be near the bottom of the General tab.
Step 6: Switch to “Get Notified About Updates”
In the Software Update section, you’ll see an option labeled Automatic Updates. To disable those automatic updates, click on the option that says Get notified about updates.
Step 7: Save The New Setting
After you click “Get notified about updates,” make sure you click on Save or Apply to confirm your changes. If you don’t save, CapCut will keep automatically updating.
That’s it! CapCut will no longer update automatically on your PC. You’ll get a notification when an update is available, so you can choose when to install it.
Advanced Tactic: Block CapCut Updates with Your Firewall
Warning: This is a more advanced step. If you aren’t comfortable with technical stuff, stick to the method above.
What’s a firewall? It’s like a security guard for your computer, controlling what programs can access the internet. We can use it to block CapCut from updating.
Here’s how to do it using the Windows Firewall:
- Open Windows Defender Firewall. You can search for it in the Start menu.
- Click on Advanced settings on the left side of the window.
- In the “Windows Defender Firewall with Advanced Security” window, select Outbound Rules in the left pane, and then click New Rule… in the right pane.
- Select Program and click Next.
- Choose “This program path” and browse to the CapCut executable file (usually located in C:\Program Files\CapCut). Then, click Next.
- Select Block the connection and click Next.
- Apply the rule to all profiles (Domain, Private, Public) and click Next.
- Give the rule a name (like “Block CapCut Updates”) and click Finish.
Remember, blocking internet access might affect other CapCut features that need it.
How to Re-Enable Automatic Updates
Changed your mind? No problem! Just follow these steps to turn auto-updates back on:
- Go back to the Software Update section in CapCut’s Settings (like in the steps above).
- Select the “Automatically check for updates” option.
- Save your changes.
If you used the firewall method, you’ll also need to remove the rule you created. Find it in the “Outbound Rules” list, right-click on it, and select “Delete.”
In Conclusion
Taking control of your software updates is crucial for a smooth and predictable workflow. By following this guide, you’ve learned how to disable automatic updates in CapCut on your PC, giving you the power to update when it suits you best.
Don’t let those unexpected updates disrupt your creative process again! Leave a comment below if you have any questions.
Hopefully this guide helped you get back to stress free editing!
If you’re facing other CapCut Related Issue, here’s a complete guide to How to Scan QR Codes in CapCut
