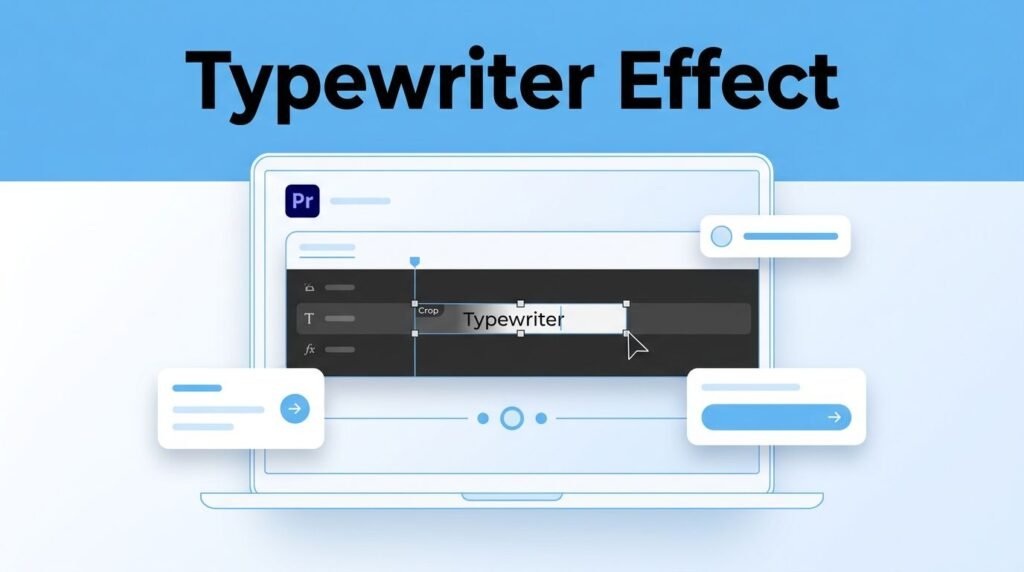
If you want to know how to make a typewriter effect in Premiere Pro, the cleanest manual method is to animate a text layer with the Crop effect, then slow the finished clip down. You do not need third party plugins, and you do not need to leave the Adobe Premiere software suite to get the job done.
The important thing to know is that this typewriter effect works best one line at a time. If you are typing a paragraph or multiple stacked lines, build each line as an individual text layer separately before you animate it.
Key Takeaways
- Manual Control: Avoid stiff, robotic presets by using the Crop effect to manually reveal text one letter at a time for an authentic, intentional appearance.
- Work Line-by-Line: To maintain proper pacing and manageability, create separate text layers for each line of your copy rather than animating full paragraphs at once.
- Timing via Nesting: Instead of tedious keyframe adjustment, create your animation at a standard speed and use the Nesting feature to slow the clip down to roughly 20% for a natural typing rhythm.
- Enhance with Detail: Once the movement is set, add a simple cursor layer and synced audio click effects to significantly increase the professional quality of the animation.
What to set up before you start
To create a professional typewriter effect in Premiere Pro, you need to ensure your workspace is ready. You will primarily use the Essential Graphics, Effects, and Effect Controls panels. If any of these are missing from your screen, simply navigate to the Window menu at the top of Adobe Premiere and select them to make them visible.
If you are learning how to create a custom text animation in Premiere Pro, this is an excellent starter project. It teaches you how to manage text layers, keyframes, timing, and clip speed within a single sequence.
Many users initially look for a built-in wipe transition or a preset to handle this task. However, those automated options often look stiff and robotic. By building this effect manually, you gain full control over the pacing and reveal, which leads to a much more authentic look.
This method works best one line at a time. If you want a full paragraph, create separate text layers for each line and animate them one by one.
Keep in mind that this one-line limit is important for your final output. If you try to reveal an entire paragraph with a single animation, the pacing will feel off and it will not resemble natural typing. Splitting your text into separate layers keeps the motion clean and makes your typewriter animation much easier to manage and customize.
Build and style the text first
Start by selecting the Type tool. Press T on your keyboard, click directly on the Program Monitor, and type the word or phrase you want to animate.
Next, open the Essential Graphics panel to style your text before you begin setting any keyframes. In the example shown, a font like Montserrat works well because it remains clean and readable. You can also adjust the letter spacing if you want more room between each character, which helps the typed-on look stand out. For better visibility against busy backgrounds, consider adding a subtle text shadow to your design. This simple touch is a common technique in professional video editing to ensure your text pops.
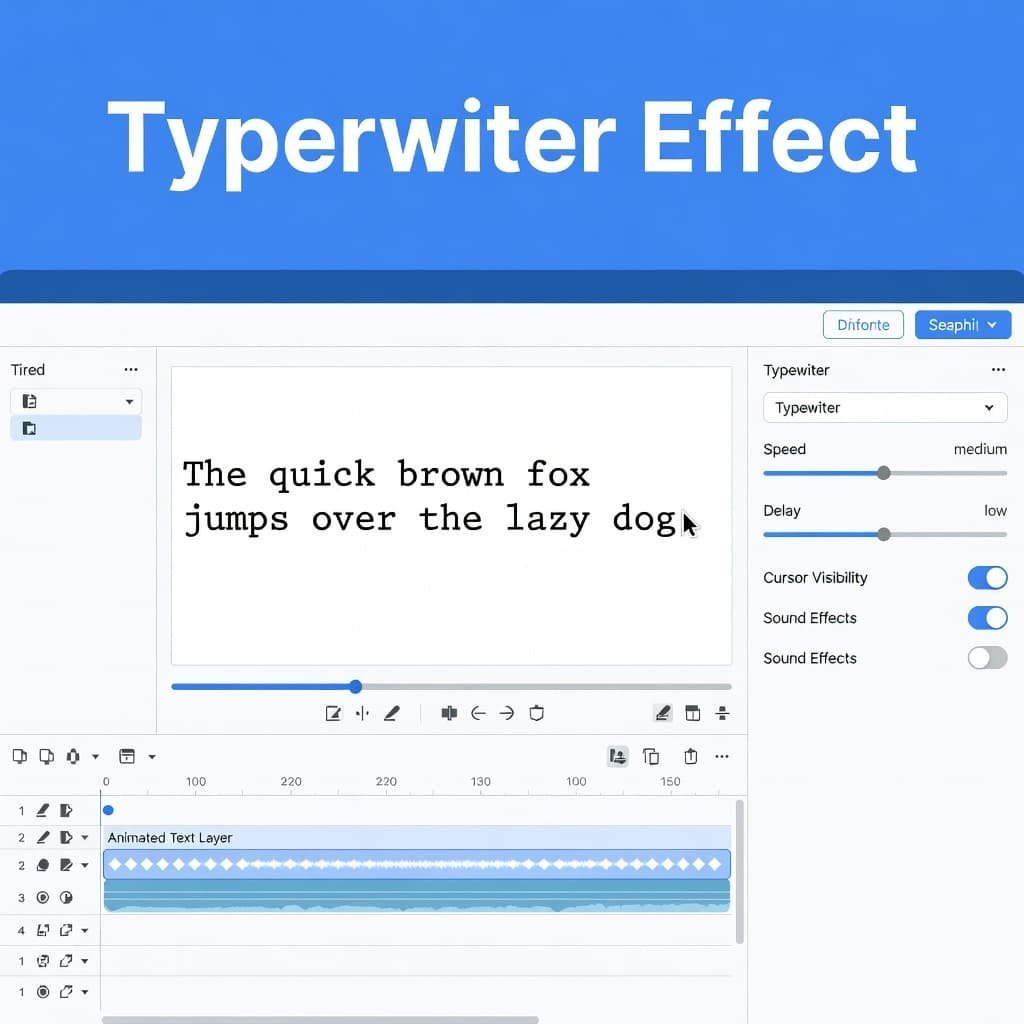
After that, increase the font size and position the text exactly where you want it. Centering is a safe choice for titles, but this same method works perfectly for lower thirds and short captions.
Try to lock in your design choices now. If you resize or move the text after you finish animating it, you may need to adjust your crop timing again. That is not difficult, but it is extra cleanup work you can easily avoid.
If you are creating a typewriter text effect in Premiere Pro for multiple sentences, keep them short. The longer the line, the more keyframes you will need, because the reveal process happens letter by letter.
Create the typewriter effect with Crop and keyframes
This is the part that creates the actual typing look.
Reveal one letter at a time
- Open the Effects panel and search for Crop. Drag the Crop effect onto your text clip in the timeline.
- Select the text clip, then open the effect controls panel. You should now see the Crop settings. Use the Right crop value for this type on effect.
- Move your playhead to the very beginning of the text clip. Increase the Right crop amount until the word is mostly or fully hidden, leaving your starting point ready.
- Click the stopwatch next to Right to toggle animation and create your first of many keyframes.
- Press the Right Arrow key once to move forward exactly one frame.
- Lower the Right crop value enough to reveal the first letter.
- Press the Right Arrow key again, then reveal the next letter. Keep repeating that pattern, one frame forward, reveal the next individual characters, until the whole word or line is visible.
That is the whole trick. You are building the effect manually, one letter at a time.
As you do this, watch the Program Monitor closely. The goal is not to guess percentages. The goal is to reveal each new character cleanly. Some letters are narrow, some are wide, so the crop amount will not always move in perfectly even jumps.
A common mistake is changing Left instead of Right. If the reveal starts from the wrong side, check your effect controls panel first. Another issue is placing the first keyframe somewhere in the middle of the clip instead of at the beginning. If that happens, the animated text in Premiere Pro will start halfway revealed, which ruins the type on effect.
If you are wondering how to create a typewriter effect in Premiere Pro for longer text, the answer is the same, but you will want patience. This style of using keyframes for animating text in Premiere Pro is simple, not automatic.
Slow the clip down so it feels like typing
When you preview your animation right away, it will probably look too fast. That does not mean your keyframes are wrong. It usually just means they are packed too close together. While you could move individual frames, that process can become as complicated as creating a complex text animation in After Effects.
Instead of redoing the entire project, right-click the text clip in your timeline and choose Nest. Give the nested sequence a name, then click OK.
Now, right-click that new nested clip and choose Speed/Duration. Change the speed to 20%. Alternatively, you can use the Rate Stretch tool to drag the edge of the clip until the timing feels natural.
This is the part people often miss. Once you slow the nested clip, the Premiere Pro typewriter effect starts to look like real typing instead of a fast wipe. If it still feels too quick, go lower. If it feels too slow, bump the speed up a little.
The nice thing about this workflow is that one speed change affects the full sequence of keyframes at once. You do not have to rebuild anything, which is much more efficient than jumping into After Effects just for a simple title. That is why nesting is such a reliable fix for this kind of animated text Premiere Pro workflow.
If you are comparing this to a newer built-in approach, you can check this 2025 update walkthrough and see whether your version of Premiere Pro includes a drag-and-drop option. Even with new features, the manual method still gives you the most control over your project timing.
Add the details that make it feel finished
Once the letters appear at the right speed, you can stop there. The typewriter effect already works well on its own. However, a couple of small touches can make the animation feel much more polished, especially when you are creating a screen recording for a software tutorial.
A blinking or moving cursor is a great addition. You can create a thin line or simple text cursor at the end of the word, then keyframe it so it follows the letters as they appear. You do not need a complicated setup. Even a static cursor placed at the end of the current letter position can help sell the illusion. Adding a subtle text shadow to your cursor or your text can also help them pop against complex backgrounds in your screen recording.
Sound is the other major upgrade. If you want a professional touch, you can check out resources like Film Impact for high-quality sound design assets. Line up a short click or key press sound with each letter reveal, or use a few evenly timed clicks if you want a lighter edit. The sound must match the rhythm of the text. If the text is slow and the clicks are rapid, the effect will feel off.
This method is great for intros, lower thirds, subtitles, and other animated text in Premiere Pro where you want a more intentional pace. It also works well when you do not want to rely on plugins.
If you are finishing the effect for a higher-resolution export, or you want your titles to stay sharp in a larger sequence, this guide on how to upscale video to 4K in Premiere Pro can help you keep the final video looking clean.
Frequently Asked Questions
Do I need any third-party plugins to create this effect?
No, you do not need any plugins. This method relies entirely on the built-in Crop effect and standard timeline tools already included in Adobe Premiere Pro.
Why should I use the Crop effect instead of animating text source properties?
The Crop effect provides a clean, predictable way to reveal characters exactly as you intend. Animating source text can often be more complex, whereas the Crop tool offers precise control over the reveal without needing extra software like After Effects.
Can I use this effect for long paragraphs of text?
It is not recommended for long blocks of text. Because this effect requires manual keyframing per letter, it is best suited for short phrases, titles, or lower thirds to keep your workflow efficient and the pacing realistic.
How do I fix the timing if the typing looks too fast or too slow?
You can adjust the overall speed of the effect by nesting your completed text clip. Simply right-click the nested sequence and adjust the Speed/Duration settings or use the Rate Stretch tool to find the perfect typing speed.
Prefer Visual Help? Watch the Step-by-Step Video Guide!
Struggling with How To Make a Typewriter Effect in Premiere Pro? This video visually walks you through each step, making it easy to follow along and recreate the effect in your own project.
Watch TutorialThe effect works because the timing feels right
The font, spacing, and layout matter, but the rhythm is what makes the effect believable. One frame per letter, then a nested clip slowed to around 20%, is the part that turns a basic crop animation into a proper typewriter effect in Premiere Pro. Many users find this manual approach easier to grasp than manipulating the source text property, as it provides a clear visual representation of how the letters appear on screen.
If you keep each line separate, style the text first, and add a cursor or sound only after the timing feels good, you will get a much cleaner result. Working with the crop tool rather than animating the source text directly is also a great way to learn video editing fundamentals, as it teaches you how to control timing instead of hiding the process behind a preset.