
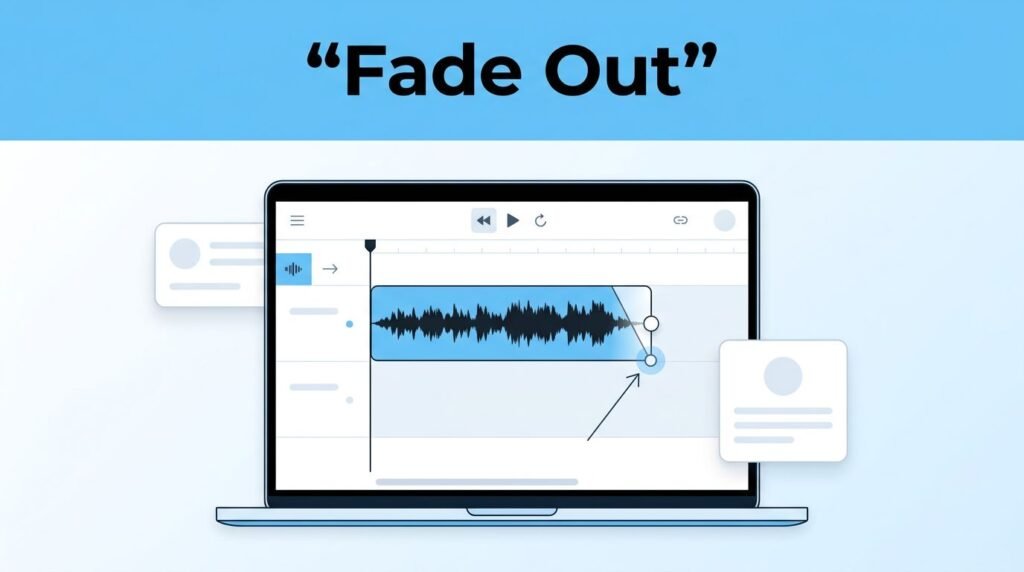
If you are looking for an easy way on how to make audio fade out in Descript, you do not need a separate effect panel or a complicated audio tool. This descript audio fade out tutorial will show you that the main secret is simply opening the timeline, trimming any dead space at the end, and dragging the small white fade handle on the clip.
Many users get stuck because they are not sure where to start. A lot of guides show the final effect, but they skip the crucial step of ensuring the clip ends in the right place before you apply the audio fade. Once your timing is set, you can smooth out the transition for voice, video, or music in just a few seconds.
Key Takeaways
- Use the Timeline: Always switch to the Descript timeline view and trim excess dead space from the end of your clip before applying a fade for the cleanest result.
- Locate the Handle: Identify the small white dot at the top corner of your audio waveform; clicking and dragging this dot creates an instant, adjustable fade.
- Customize Transitions: You can adjust the audio and visual fades independently by clicking the fade handle to access the properties menu, allowing for granular control over how your media concludes.
- Consistency is Key: The same white handle method works for fading in audio at the start of a clip or fading out background music, providing a unified workflow for all media types.
What you need to know before you start
Open the project where you want the fade. This method works best when you can already see your clip in Descript and your audio is loaded into the editor.
If you usually work in the script or storyboard view, switch to the descript timeline before doing anything else. In most versions of the app, that means clicking Show Timeline in the bottom-left corner. If you are searching for an audio fade out guide for Descript, this is the part that matters most, because the fade control is tied to the clip in the timeline.
A common mistake is leaving extra silence at the end of the clip. When that happens, the audio fade effect may happen over empty space instead of over your voice or music, which makes the ending feel late and awkward.
Trim the blank tail first. If your spoken audio ends before the clip ends, or if you are working on background music or podcast projects, your fade may be doing almost nothing if there is too much dead air.
This is also why the same process works if you are following an audio fade out guide for a Descript video project. The fade is attached to the clip itself, so you can use it on narration, a podcast track, background music, or if you need to fade out a song at the end of a video.
If you are also cleaning up spoken words inside the same project, this guide on professional audio cleanup in Descript can help when you need more precise edits than a simple fade.
How to make audio fade out in Descript, step by step
Once the timeline is open, go to the end of the clip you want to edit. If there is empty space after your voice or music ends, drag the right edge of the clip inward so the clip stops where the sound stops. This Descript fade out process works better when the clip is already cleaned up.
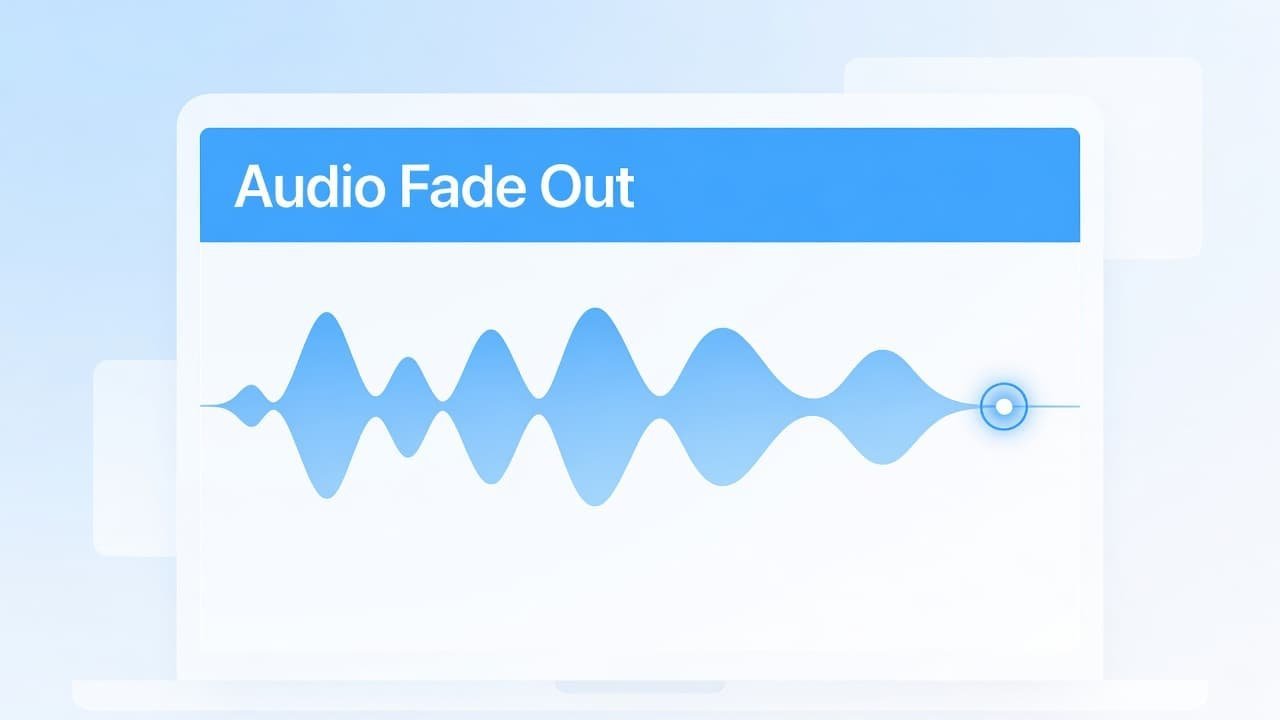
Now follow these steps to manage your audio levels and achieve a professional finish:
- Move your cursor over the sound waves near the end of the clip.
- Look for the small white dot at the top of the waveform.
- Click and drag that white dot to the left.
- Keep dragging until the fade length looks right, then drag and release to set the duration.
- Play the clip back to ensure the transition sounds smooth.
As you drag, Descript shows the fade length live. You may see a measurement like +30 seconds while you move it. The farther you drag, the longer the fade out will be. That is the core of how to fade out audio in this editor.
After you let go, a darker shaded area appears over the end of the clip. That shaded section is your fade. If you need a more obvious audio fade out, make it longer. If you want a quick, clean ending for speech, keep it shorter and preview it to maintain balanced audio levels.
This same handle also answers how to fade in audio in Descript. Simply go to the beginning of the clip, find the white dot there, and drag it to create a smooth fade in. Whether you were looking for how to fade audio, create a professional fade out, or apply a fade in at the start of a track, the control remains the same. Only the side of the clip changes.
This method works for all types of media. If you need to fade out music, create a short music fade out under a talking segment, or figure out how to fade out a song before a video ends, you use that same white dot on the audio clip.
How to fade only the audio or only the visual
By default, the fade handle can affect both sound and picture. That is useful if you want the whole clip to soften out together. But sometimes you only want one part of the transition to change.
Click the white dot after you create the fade, and Descript will open options for that transition. Because you are working at the end of the clip, you should see it set as Out. From there, you can adjust the visual transition, the audio transition, or both. Utilizing this properties menu allows for granular control over how your media finishes.
Here is the quick difference:
Inside the Visual section, you are not limited to a simple video fade. The options shown include Fade, Blur, Color, Color Dip, and Cross Zoom. If you were primarily looking to add an audio effect, you can ignore those visual options, though they are helpful if you want the video to end more softly.
You can also type in a more exact duration. For example, you might set the visual effect to 2 seconds and the audio to 1 second. Descript will show separate shaded areas so you can tell both are active. If you require even more precision than the handle provides, you can use volume keyframes to manage the sound levels manually. To do this, simply add a volume key frame at your desired start and end points to customize the curve exactly how you like it.
That is handy when you want the screen to linger a little longer than the sound, or when you want the sound to disappear but keep the picture on screen for a moment. If you want to see how Descript frames these transitions more broadly, its fade out transition tool page gives another look at the visual side.
Why the fade handle might not show up, or the result sounds wrong
If the white dot does not appear, the first thing to check is your position on the clip. You need to hover near the start or end of the waveform, not in the middle. If the descript timeline is hidden, bring it back with Show Timeline and try again.
This part can confuse people because Descript keeps the control small and easy to miss. Zooming in on the timeline can help if the clip is short. Also, make sure you are selecting the actual clip that holds the audio you want to change. If you have two clips overlapping, you might consider adding a crossfade to smooth out the transition between them.
If the fade sounds strange, listen for where the speech or music actually ends. A fade that starts too early can make your voice drop off before the sentence is done, while one that starts too late can feel pointless. Before you finalize your project, be sure to render audio to hear how the effect sounds in the context of the full edit.
For podcasts or talking-head videos, shorter fades usually sound cleaner. For background tracks, outro music, or when you need to fade out music under narration, a slightly longer fade often feels more natural. The right answer depends on the pace of the clip, so trust the preview more than the numbers.
You can use the same approach for a fade in at the beginning of a segment. If you were also trying to figure out how to fade audio in Descript, simply perform the exact same move from the left side of the clip and then preview the opening to ensure it sounds right.
Frequently Asked Questions
Why can’t I see the white fade handle on my clip?
If you cannot see the handle, ensure you are hovering your mouse near the very beginning or end of the clip rather than the middle. Additionally, make sure your timeline is fully expanded and that you are zoomed in enough to see the clip’s edge clearly.
Can I fade the audio and video at different speeds?
Yes, you can customize them separately by clicking the white fade icon after it has been created. This opens the properties menu where you can adjust the duration for the visual and audio elements individually or disable one entirely.
Is it possible to use volume keyframes instead of a fade handle?
Absolutely, if you need more precision than the drag-and-drop handle allows, you can use volume keyframes. By adding keyframes at specific points, you can manually control the volume curve to create a custom fade profile that suits your project’s specific needs.
Does this method work for background music tracks?
This process works identically for music, narration, or any audio file imported into your project. Simply trim the music clip to the desired length and drag the white dot to create a smooth, professional-sounding transition.
Prefer Visual Help? Watch the Step-by-Step Video Guide!
Struggling with How to Make Audio Fade Out in Descript? This video visually walks you through the steps so you can follow along more easily.
Watch TutorialOne small fade makes the ending feel finished
A hard stop in your project can often make a clip sound like it ended by accident. A clean fade out helps your content feel intentional and professional.
Simply open the timeline, trim any unnecessary silence, and drag the white dot to create your transition. It is always a good idea to preview your work once before you export or publish. If you need more control, remember that you can separate the audio and visual settings to ensure each layer reaches the perfect fade out. A minor adjustment at the end of your project is all it takes to make your audio feel polished and complete.