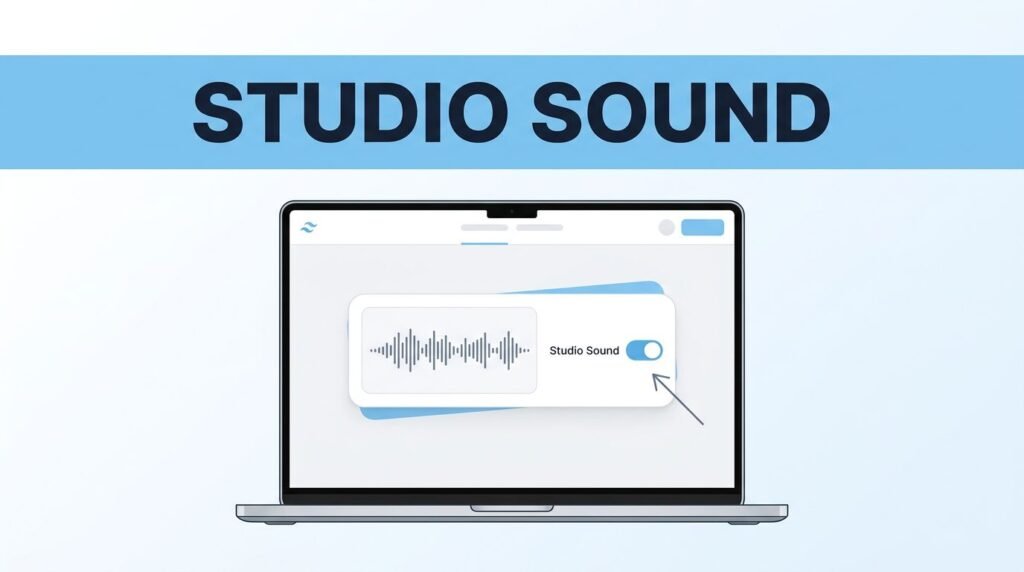
If you are wondering how to remove background noise in Descript, the fastest method is using the Studio Sound feature. Whether you are working on a new episode for podcasting or polishing a project for video editing, achieving professional sound is essential. Simply open your project, select the clip, turn on Studio Sound, and let Descript process the audio to instantly improve your audio quality.
This straightforward workflow is the reason so many creators rely on Descript for audio cleanup. If your recording contains distracting hums, room noise, or other unwanted background noise, using this tool should be the first step in your editing process before making any further adjustments.
Key Takeaways
- Studio Sound is the primary tool: The most efficient way to eliminate background noise, hums, and echoes in Descript is by using the AI-powered Studio Sound feature.
- Workflow integration: Use Underlord to quickly apply audio enhancements to selected clips, which should ideally be done early in your editing process for the best results.
- Customizable intensity: If the default setting isn’t enough to clear your audio, use the Effect settings to adjust the intensity slider for more granular control.
- Verify with A/B testing: Always toggle Studio Sound on and off while listening to your clip to ensure the audio sounds professional without becoming robotic or overly processed.
What you need before you start
To get started, you need a Descript account and a project containing your media. Whether you are uploading an MP4 file for a video edit or a simple voiceover track, Descript uses text-based editing and automatic transcription to make your workflow seamless. This process works perfectly whether you are starting a brand-new project or refining a file you already imported.
If you are trying to figure out how to reduce background noise in Descript, or how to get rid of background noise in Descript without relying on external software, the most important tool to master is Studio Sound. Even if your recording environment was less than ideal, this feature helps you achieve professional audio quality by isolating your voice and removing unwanted hums, echoes, or static.
Many creators search for ways to remove background noise from audio online, or they compare Descript to a free online tool that can remove background noise from audio. This guide remains focused on Descript, so the options available depend on your specific account tier. Aside from background noise removal, remember that Descript also excels at removing filler words, giving your final production a clean, polished feel.
You should also expect the interface to evolve slightly over time. In most versions, the tool is easy to find once your clip is selected, though menu names can shift. If your screen does not match these steps exactly, Descript’s Studio Sound background noise remover page points to the same functionality under audio effects.
Remove background noise in Descript with Studio Sound
The full process is quick, but a few small steps can trip people up. This is how to remove noise from audio in Descript without guessing around the interface.
- Sign in to your Descript account.
Start from your dashboard, then open the project you want to work on. If you do not have one open yet, create a new project first. - Choose a new project or an existing one.
This part works the same either way. You can start cleaning up audio from a fresh upload or fix a file inside a project you already started. - Import your file.
You can drag and drop the file straight into the project window, or use Upload files to browse your storage and pick the footage or audio file manually. - Finish the upload.
After the file is added, click Done if Descript prompts you to confirm the import. Wait until the file is fully inside the workspace. - Select the clip you want to clean up.
Click the video or audio clip in your project so Descript knows which sound you want to work on. This matters, because Studio Sound is applied to the specific selection. - Open Underlord.
In the project tools, look for Underlord, which is the dedicated AI task area. This is where the advanced Descript AI noise reduction tools are surfaced to help you remove background noise efficiently. - Turn on Studio Sound.
Click Studio Sound and wait while the software processes your clip. You should see a loading bar, and you may also see a message like audio leveling in progress while the cleanup runs.
Once the processing finishes, your clip will feature studio quality sound. That is the core of the Descript audio cleanup process, and it works the same way whether you are editing a talking-head video, a podcasting track, or a simple voice recording.
If you do not see Underlord or Studio Sound, check that the clip is selected first. If the option still is not there, the interface may have moved, or your version may show the tool somewhere else in the audio effects area.
Check the raw audio against the cleaned version
Before you consider your work finished, listen to the clip once with Studio Sound off, then again with it on. This is the most effective way to hear the impact of this voice enhancement.
That comparison matters more than people think. If you only hear the processed version, you may miss whether the voice sounds natural or if it has become a little too polished. If you only hear the raw audio track, you cannot tell how much background noise or room echo Descript already handled for you. Listening closely also reveals how well the tool managed to remove reverb from your space.
In the example shown, the test clip had added clapping in the background because the room itself was already fairly quiet. That is a good reminder that even when you record in a decent space, you can still end up with minor distractions in your recording.
With Studio Sound turned back on, the voice should sound cleaner and easier to understand, helping you achieve a professional sound. This is the point where Descript noise reduction, or what some people think of as Descript noise cancellation, starts to pay off.
If the background noise is extremely loud, Studio Sound can improve it a lot, but it may not remove every last sound.
That is normal. The tool is excellent at cleaning up noisy voice tracks, but a harsh background sound can still leave a faint trace behind.
Use Effect settings if noise is still too strong
If the first pass does not clean enough of the clip, open the Effect settings for Studio Sound. This is where you can use the intensity slider to adjust the strength of the effect. Unlike some other tools, such as Adobe Podcast which provides less manual control, Descript gives you granular power over your audio processing.
In our example, we pushed the intensity to the maximum setting. The result still had a tiny amount of leftover sound because the original background noise was quite loud, but it was much cleaner than the raw version. That is a realistic outcome. While the ability to remove noise in Descript is impressive, it is not magic.
Use a higher intensity when the background noise is obvious and the voice still sounds natural. Use a lower intensity if the voice starts sounding processed, thin, or slightly robotic.
A common mistake is turning the effect on once and never checking it again. Toggle it on and off a few times. That quick A/B test tells you whether you actually succeeded in your efforts to remove noise in Descript, or whether you pushed the effect too far.
This is also the best way to handle room echo or a rough room tone when Studio Sound improves the track but does not fully fix it. You are trying to land on the cleanest version that still sounds like a real person speaking.
After you are happy with the audio, leave Studio Sound enabled to export project files with the enhancements included. If you turn the effect off before you export your project, you will revert to the raw audio instead of the cleaned version.
Where this fits in the rest of your edit
Studio Sound is an essential tool for podcasting, YouTube videos, and course creators who need to ensure professional audio quality. Any time you need an audio editor to remove background noise without sending the file through a complicated cleanup chain, this feature serves as a practical first step for your audio track.
It is best to handle this process early in your video editing workflow. Prioritize cleaning up audio in Descript first, as this makes subsequent tasks like removing filler words, fixing transcription errors, and managing your cuts much easier. If you already rely on Descript for transcription or Overdub, this step fits naturally into your existing project setup.
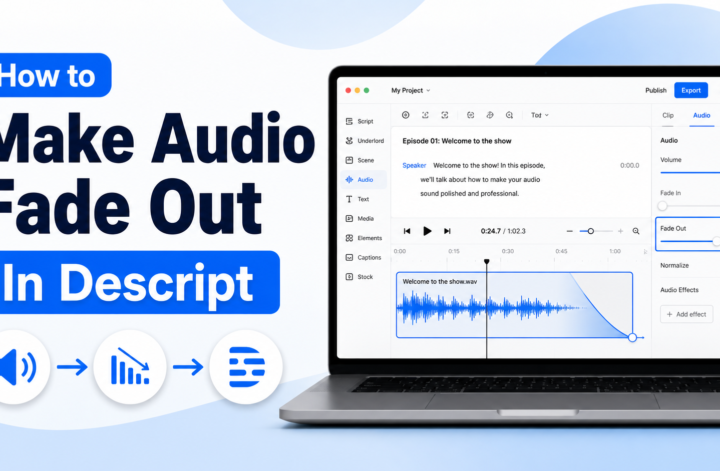
Once your dialogue sounds clear and polished, you can move on to adding audio fades in Descript so your music, outro, or final line ends more smoothly.
Frequently Asked Questions
Is Studio Sound included in all Descript plans?
While Studio Sound is a core feature of Descript, the specific limits or availability may vary depending on your current account tier. You should check your account settings or the Descript pricing page to confirm which features are active for your subscription level.
Does Studio Sound remove every type of noise?
Studio Sound is highly effective at removing common issues like room hum, static, and minor echoes. However, if the original recording has extremely loud or complex background noise, it may not be able to eliminate every trace of it perfectly.
Can I adjust the level of noise removal?
Yes, if you find the default application of Studio Sound is either too strong or not strong enough, you can open the Effect settings. There, you can manually adjust the intensity slider to balance between natural voice quality and aggressive noise reduction.
Should I apply Studio Sound before or after editing?
It is recommended that you apply Studio Sound early in your editing workflow. Cleaning your audio first makes it easier to work with the clips, perform cuts, and finalize your project without needing to re-adjust settings later.
Prefer Visual Help? Watch the Step-by-Step Video Guide!
Struggling with How to Remove Background Noise in Descript? This video visually walks you through the steps so you can follow along more easily.
Watch TutorialThe simplest fix for noisy audio in Descript
Learning how to remove background noise in Descript is straightforward thanks to the platform’s AI-powered tools. The easiest way to remove noise is to select your clip, open Underlord, and enable Studio Sound. Once you wait for the processing to finish, your audio will be clear while your original transcription remains perfectly intact.
If the audio still needs adjustment, you can fine-tune the result within the Effect settings by testing a stronger intensity level. When the cleaned version sounds natural and professional, you are ready to export project files to share your finished work. By leveraging these built-in features, you can achieve high-quality results without needing external software.
Want To Learn How to Bleep or Censor Curse Words on Descript. Here’s a Step-by-Step Guide Article on how to do so.