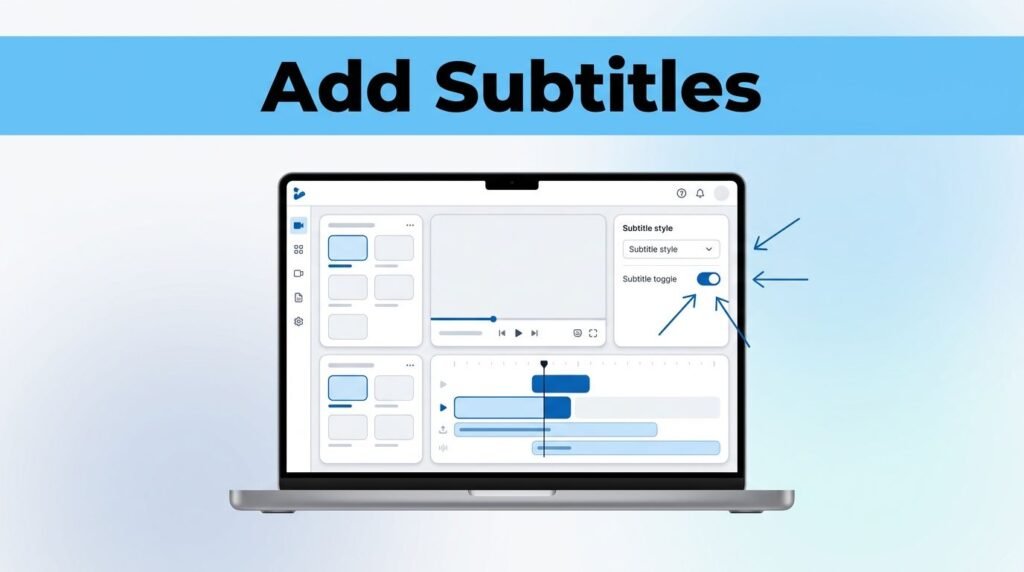
If you want to know how to add subtitles to a video in Descript, the process is quick once your project is open. Simply sign in, open the media file you want to process, navigate to the video editing panel on the right side of the interface, and select your preferred style from the menu.
This Descript subtitle tutorial is straightforward, but one specific setting can occasionally cause confusion. You can apply captions to the entire video project, or you can limit them to just one scene, so it is helpful to understand how these captions function before you hit play.
Key Takeaways
- Integrated Workflow: Descript uses its built-in transcription engine to auto-generate subtitles, eliminating the need to switch between third-party captioning tools.
- Customizable Styling: Users can choose from various caption templates and customize font styles, which are burned into the video as open captions upon export.
- Flexible Scope: You can apply subtitles across your entire project for consistent accessibility or limit them to specific scenes for focused callouts and intros.
- Transcript Dependency: Accurate subtitles rely on high-quality audio and a polished transcript; cleaning up background noise and filler words before applying captions ensures better results.
What you need before you start
Open Descript and sign in to your account, then either create a new project or open the one you already want to edit. You will first need to upload video files to the project because you are adding subtitles from within the editor, not from a separate export screen.
The important thing to know is that Descript uses text-based editing powered by its robust transcription engine to auto-generate your captions. If the spoken audio is unclear, your subtitles for video may not look right until the transcript is cleaned up or reviewed.
If you came here looking for a way to add captions to video online, or comparing Descript with a video caption generator free tool, this workflow keeps everything in one place. You are not bouncing between a separate caption generator from video site and your editor.
Add subtitles to video in Descript
Once your project is open, this is the path to follow if you want to add subtitles to video or figure out how to caption a video without doing it manually.
- Go to your project in Descript.
- Find the right-side panel in the editor.
- Click Captions.
- Browse through the available caption templates to find a look that fits your brand.
- Click the style you want to use.
Descript should apply that caption style right away. In the example shown here, Classic Yellow is selected, which gives you a bold, easy-to-read look for subtitles on video. You can further customize the font type to match your specific needs. These are typically generated as open captions, also known as hard subtitles, which means they are permanently burned into the video upon final export.
After you choose a style, press Play and watch the preview. You should see the text appear over the video as it plays. That is the easiest way to confirm the captions were added and that the timing looks normal.
Most of the work here is choosing the style, then checking the preview. If you are learning how to add captions to a video for tutorials, talking-head clips, or social posts, this is the core step that gets the video captions on screen fast.
Because Descript handles the transcript and caption styling in the same editor, it is much quicker than manual video captioning in older editors. If you plan to caption videos often, that small difference saves time every time you edit.
Choose between full-video and scene-only captions
This is the part that can confuse people a little. Descript lets you apply captions across the whole project, but it can also limit them to one scene.
When the captions should cover the whole video
If you want captions for videos from beginning to end, choose your style and let it apply across the project. This is the better fit when you are making explainer videos, walkthroughs, or social media content for platforms like LinkedIn or X where users often watch without sound. Adding captions consistently in this way ensures your message is delivered clearly throughout the entire video.
Once the style is active, play the video and look for the subtitles in the preview window. If you can see them following the spoken words, the caption video setup is done.
When you only want captions on one part
You may also see an option such as This scene. That means the caption style applies only to the scene you are currently editing, not the full video.
A scene is basically one section of your project. Some creators use this when they do not want wall-to-wall captions and only want text over a specific part, such as a focused callout. However, keep in mind that for accessibility purposes, it is often best to provide full-video subtitles. Using captions throughout your entire project ensures your content remains accessible for the deaf or hard of hearing, whereas limiting text to specific scenes might exclude viewers who rely on constant on-screen text.
Here is the difference at a glance:
The scene option gives you more control, but it only matters if your project has more than one scene.
If you only have one scene in the project, choosing “This scene” may look like nothing changed. It still applies to that section, there just is not another scene to compare it against.
If captions do not show up
A common mistake is picking a caption style, then assuming it failed because nothing appears on a paused frame. Press Play first. In most cases, you will not really confirm the subtitles until the preview is moving.
Another thing to check is whether your project already has usable spoken text for Descript to work with. Since this is an auto-caption video workflow, the captions depend entirely on the transcript. If the transcript is missing or the audio is hard to understand, the result may be incomplete. It is also helpful to review your speaker labels to ensure the sync between the video and the displayed text is perfect.
If your recording has hum, fan noise, or room noise, clean that up first with this guide to remove background noise in Descript. You should also remove filler words to clean up the transcript before adding text. Better audio and a polished transcript make adding subtitles to video a lot smoother.
You can also re-select the caption style. Sometimes the quickest fix is clicking the template again, then previewing the video one more time. If you continue to run into trouble, you can use Underlord, Descript’s AI assistant, to help troubleshoot or automate parts of the process.
If the layout looks different from what you expected, the menu name or panel position may have changed slightly. In most versions, you are still looking for the Captions area on the right side of the project editor.
Make the subtitles easier to watch
When you add subtitles to videos, readability matters just as much as the accuracy of the captions themselves. Beyond improving the viewer experience, adding text has significant seo benefits, as search engines can crawl this content to better understand your video topics. A style like Classic Yellow works well because it stands out immediately against most backgrounds.
Keep your check simple:
- Make sure the text is easy to read against the video.
- Play through a few lines to see if the words appear at the right time.
- If you only want one section captioned, confirm that you used the scene option and not the full-project setting.
If you were searching for how to subtitle videos, how to add subtitles to video, or how to add captions to a video without a lot of manual setup, this is the part that ties it all together. Once you pick the right style, you can also export an srt file or vtt file to use on platforms that prefer sidecar files for closed captioning. Furthermore, if you are looking to reach a global audience, Descript makes it simple to translate subtitles into different languages. Take a moment to preview your work, ensure your scope is set correctly, and you will have professional, accessible content ready to publish.
Frequently Asked Questions
Do I need to manually transcribe my video before adding subtitles?
No, Descript uses its powerful AI transcription engine to automatically generate the text for your captions. However, it is recommended to review the transcript for accuracy and remove filler words to ensure the subtitles look professional and remain easy to read.
Can I edit the appearance of the subtitles after applying them?
Yes, you can customize your subtitles by selecting different templates and adjusting the font style directly within the Captions panel. These changes update the visual presentation of the text, allowing you to match the captions to your brand identity or video theme.
Why don’t I see the subtitles when I pause the video?
In many cases, the subtitles will not appear in the preview window while the video is paused. Always press play to confirm the captions are syncing correctly with the audio and appearing at the right time.
What is the difference between “Whole video” and “This scene” options?
The “Whole video” setting applies your chosen caption style across the entire length of your project, which is best for accessibility. The “This scene” option restricts the captions to only the specific section or clip you are currently editing, which is useful for short callouts or individual segments.
Prefer Visual Help? Watch the Step-by-Step Video Guide!
Struggling with How to Add Subtitles to a Video in Descript? This video visually walks you through the steps so you can follow along more easily.
Watch TutorialThe quickest way to finish the job
Descript provides the most efficient workflow to add subtitles to video thanks to its unified, intuitive interface. The fastest way to get started is to simply open your project, click Captions, select your preferred style, and preview the result. If you need text throughout your entire project, you can apply your choices to the whole video at once. If you only need to highlight a specific moment, you can utilize the scene-specific option to keep things focused.
Once you are familiar with the location and functionality of the Captions panel, the process becomes a seamless finishing touch rather than a tedious editing task. By leveraging these tools, you can ensure your content is professional and accessible with minimal effort.
Want To Learn How to Make Audio Fade Out in Descript. Here’s a Step-by-Step Guide Article on how to do so.