If you want to know how to lighten dark footage in Premiere Pro, the cleanest quick fix is not the regular Brightness & Contrast effect. While that tool can make your clip brighter, it often leaves the image looking flat and washed out. Adobe Premiere Pro offers more sophisticated alternatives that allow you to recover detail without sacrificing the overall quality of your video.
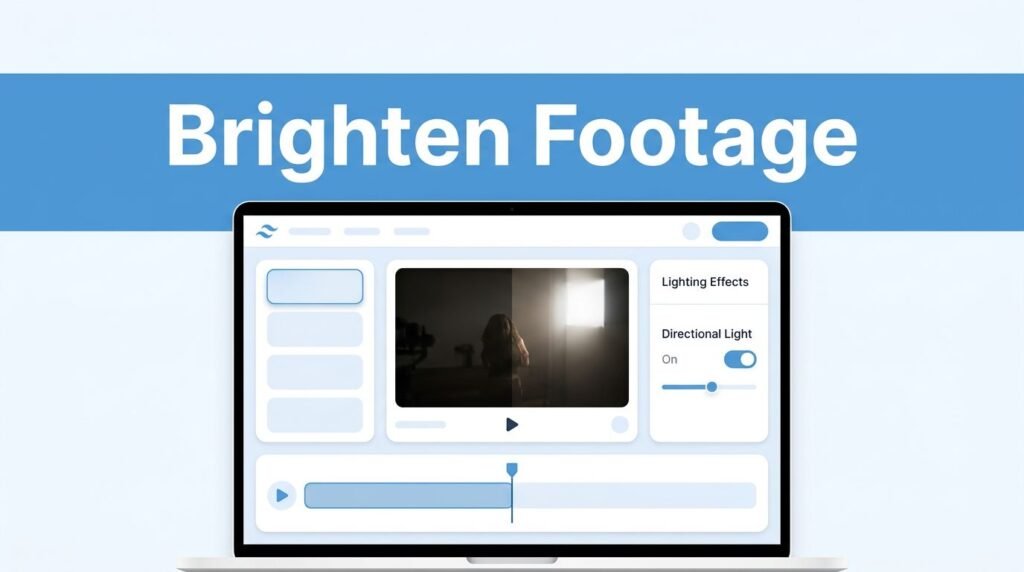
A better option is the Lighting Effects filter. To get the best results, you should change the Light 1 setting to directional light. If you are trying to figure out how to brighten underexposed shots without wrecking the color balance, this specific setting is the technique you should prioritize to achieve a professional look.
Key Takeaways
- Avoid the Brightness & Contrast effect: While simple to use, it often results in a washed-out, flat image by applying a global adjustment to every pixel equally.
- Utilize Lighting Effects: For a more natural result, use the built-in Lighting Effects tool and set Light 1 to ‘Directional’ to simulate realistic light rather than a flat overlay.
- Prioritize image depth: Focus on retaining contrast and detail in the shadows rather than simply forcing the entire frame to be brighter, which can introduce grain and artificial artifacts.
- Consider non-destructive workflows: Use adjustment layers or the Lumetri Color panel to manage exposure and shadow recovery, which allows for more professional control without damaging the source file quality.
Why Brightness & Contrast often looks wrong
If you searched for how to adjust brightness in Adobe Premiere Pro, how to brighten a video in Premiere Pro, or how to make a video brighter in Adobe Premiere Pro, the Brightness and Contrast effect probably looked like the fastest answer.
It is fast, but it usually isn’t the prettiest fix for dark video clips.
When you drag that effect onto a clip and push the brightness up, Premiere raises the whole image in a broad, blunt way. Shadows lift, highlights lift, and the frame can start to look like someone laid a pale gray sheet over it. You do get more light, but you often lose depth because the Brightness and Contrast effect treats every pixel the same way.
That is why a lot of dark clips start to look washed out after a basic brightness change. Skin tones can get dull, black areas can turn milky, and the shot stops feeling natural. If you need a quick Premiere Pro exposure fix, that matters more than the number on the slider.
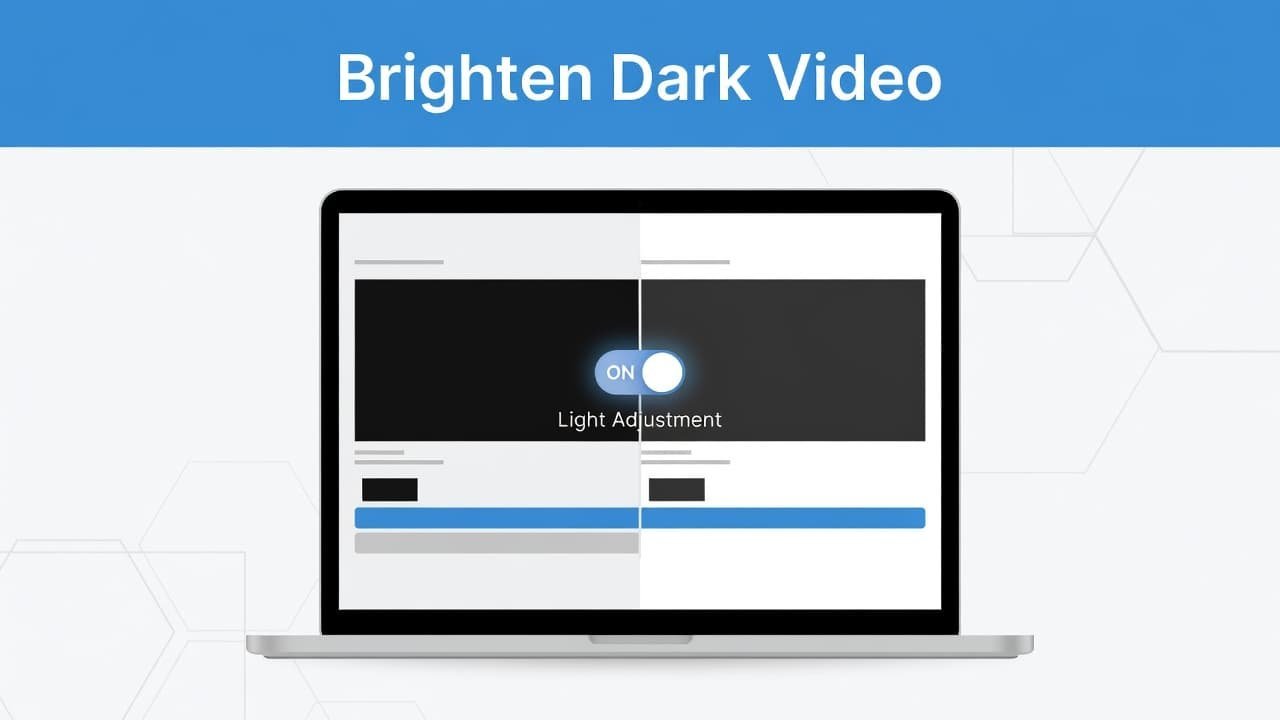
Here’s the difference at a glance:
The important thing to know is that brightening a clip and using a tool to relight dark footage are not the same thing. If you need to adjust exposure in Premiere Pro, change exposure in Premiere Pro, or perform color correction to fix underexposed video in Premiere Pro, the cleaner result usually comes from a tool that behaves more like real light. By prioritizing contrast adjustment over a global brightness push, you can rescue your media while keeping the image depth intact.
Use Lighting Effects to brighten dark footage
If you are wondering how to adjust lighting in Premiere Pro without a plug-in, this built-in method is the best place to start. It only takes a minute, and you can see the difference immediately.
- Select your video clips in the timeline.
Make sure the specific footage you want to fix is highlighted before you apply the adjustments. - Open the Effects panel and search for lighting effects within the video effects folder.
If you do not see the panel, go to the Window menu to enable it. - Drag the lighting effects tool onto your clip.
Premiere will apply the effect, but the default look may need a few adjustments to match your project. - Open the Effect Controls panel for that same clip.
If you need to locate the panel, go to the Window menu and select Effect Controls. - Find Light 1, then change the Light Type from the default spotlight to directional light.
This is the step that makes the trick work. Once you switch to directional light within the Effect Controls panel, the shot usually looks brighter without gaining that cloudy, over-bright haze.
This is a professional approach when you need to brighten dark footage in Premiere Pro fast, but you still want the image to maintain its natural shape. It also works well if you are trying to edit video exposure in Premiere Pro and the standard brightness sliders are making your footage look washed out or low quality.
If the effect name or panel looks slightly different in your version, use the search boxes in the Effects and Effect Controls panels. That usually gets you there faster than hunting through manual menus.
What changes when you switch Light 1 to Directional
This part can confuse people because the clip may already look different the moment you apply lighting effects. The real upgrade happens after you set Light 1 to Directional.
A directional light behaves more like light hitting the scene from a specific angle, rather than a blanket brightening pass across every pixel. That is why this technique is such an effective way to relight dark footage in Premiere Pro. You still get a brighter image, but the shot usually keeps more of its original contrast and color depth compared to basic exposure adjustments.
When the setting works well, you will usually notice:
- better detail in the shadows
- skin tones that stay more believable
- less of that white, foggy overlay look often found in Premiere Pro dark footage
After you apply this, toggle the effect on and off in Effect Controls to compare the before and after. If the corrected version looks fake, back it off a little. When you need to increase exposure in Premiere Pro, smaller adjustments usually look better than one heavy correction.
You can also fine-tune the result under Light 1 after switching to Directional. By adjusting the intensity and position, you gain precise control over how the light interacts with your low light footage. On some clips, lowering the strength a bit gives you a more natural result. If your subject moves through the frame, keyframing the light can help the brightness stay exactly where you want it.
Once the exposure looks right, you can clean up the image further and sharpen video in Premiere Pro if the shot feels a little soft after brightening.
Fixes for grain, flat color, and other common problems
When you fix dark footage, you often reveal exactly what is hiding in the shadows. Sometimes that means distracting noise and grain, muddy colors, or digital compression artifacts. This does not mean your lighting effect is broken; it simply means the original video clips were short on usable light.
A common mistake is trying to force a night and day rescue from footage that is severely underexposed. If you push any correction too far, the image quality degrades, highlights can look artificial, and the overall composition falls apart. If you are learning how to fix underexposed video in Adobe Premiere Pro, the goal is usually to make the result look better rather than perfect.
Keep these checks in mind while you work on low light footage:
- do not brighten the clip so much that deep blacks turn gray
- keep some natural contrast in the image
- compare the fixed clip with the original before you call it done
If you want to perform more professional color correction, the Lumetri Color panel is the industry standard tool for polishing your work. A great practice is to use an adjustment layer for these edits, as it keeps your workflow non-destructive. Within the Basic Correction tab of the Lumetri Color panel, you can use the exposure slider to balance the overall light and the shadows slider to recover details without overblowing the bright areas. This is a much better place to make overall tone adjustments than trying to force everything with a single brightness control.
If the clip looks dark only inside Adobe Premiere Pro, and not in the source file or export, the problem may not be true underexposure. This Adobe Community discussion about underexposed footage in Premiere is helpful if you want to compare that kind of symptom.
Before you start heavy changes, it is smart to duplicate the clip or work from a copy in the sequence. Then, play the shot back at full speed. A frame that looks acceptable when paused can still feel strange once the scene is moving.
Frequently Asked Questions
Why does my video look gray or washed out after brightening it?
This usually happens because the Brightness & Contrast effect lifts both shadows and highlights globally, reducing the natural dynamic range of your footage. To avoid this, use more targeted tools like the Lumetri Color panel or Lighting Effects, which allow you to recover details in dark areas while keeping your blacks deep and rich.
Can I use the Lumetri Color panel instead of Lighting Effects?
Yes, the Lumetri Color panel is actually the industry-standard method for professional color correction and exposure adjustment. It is often a better choice for overall balancing, as the Exposure and Shadows sliders are specifically engineered to maintain image quality while correcting underexposed video.
What should I do if my footage looks grainy after I lighten it?
Grain is often hidden in the dark, underexposed areas of a clip, so brightening the footage will naturally make that digital noise more visible. If you notice heavy grain, try to limit your brightness adjustments to only the necessary areas or consider applying a subtle noise reduction effect to clean up the image after your color correction is complete.
Should I keyframe my lighting adjustments?
Yes, keyframing is highly recommended if your subject is moving through the frame or if the lighting in your original clip changes over time. By keyframing the intensity and position of your lighting effects, you ensure that the brightening remains consistent and natural regardless of the motion in your shot.
Prefer Visual Help? Watch the Step-by-Step Video Guide!
Struggling with How to Lighten Dark Footage in Premiere Pro? This video visually walks you through the steps so you can follow along more easily.
Watch TutorialThe clean fix for underexposed clips
If you are wondering how to lighten dark footage in Premiere Pro, your best approach is to avoid the standard brightness and contrast effect for major adjustments. While it may seem like a quick fix, it often crushes your shadows and flattens the image quality too much for professional results.
The cleaner, more professional workflow is to use the lighting effects tool. By applying this effect and switching your light settings to directional light, you retain better control over your midtones and highlights. This method provides a much more natural look, helping you salvage underexposed clips while maintaining the rich color and depth of your original footage.