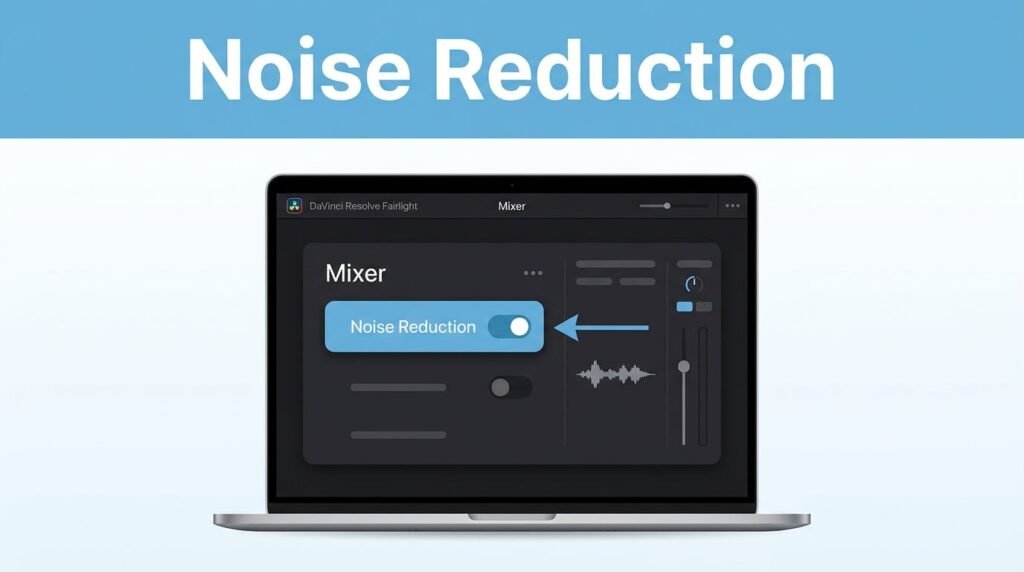
If you want to learn how to remove background noise in DaVinci Resolve, the most efficient route is through the Fairlight tab, the Mixer, and the Noise Reduction effect found under the Restoration menu. You do not need a complex chain of audio tools, but you must select the correct track and ensure the effect is properly enabled. While much of this workflow is accessible in the free version, keep in mind that some advanced AI-powered restoration tools are reserved for the Studio version.
If you are trying to figure out the best way to reduce unwanted background noise in DaVinci Resolve, this quick fix is where most professionals start. It is highly effective for steady audio issues underneath speech, such as hiss, fan hum, or room tone, and it is significantly faster than rebuilding your entire mix from scratch.
Key Takeaways
- Use the Fairlight page and the Restoration > Noise Reduction effect for the most efficient audio cleanup.
- The “Auto Speech Mode” is the quickest way to target background hiss or fan hum while keeping human speech natural.
- Always apply effects to the specific track in the Mixer rather than the individual clip to maintain better control over your project’s audio.
- Avoid over-processing your audio, as this can lead to a “robotic” or “watery” sound that is often more distracting than the original noise.
- Professional results rely on a balance; aim for speech clarity rather than a completely silent, unnaturally dead track.
What to know before you start
Clean audio matters more than most people expect. A shot can be a little imperfect and still feel fine, but constant background noise under your voice gets distracting fast. When you want to remove background noise in DaVinci Resolve, the real goal is not to make the room sound unnaturally dead. Instead, it is to make human speech easier to hear and understand.
You will do this in the Fairlight page, which is the dedicated audio workspace within DaVinci Resolve. In most recent versions, including the setups used for DaVinci Resolve 18, the overall path is the same: select the clip, find the relevant audio track, open the Mixer, and add the noise reduction effect from the Restoration category.
Before you start, click the clip that has the noisy audio and check which audio track it lives on. In many timelines, that will be A1, but it could be A2, A3, or another track if you have separated your music, voice-over, and sound effects. This part matters because the effect is applied from the track strip in the Mixer, not from a random place in the timeline.
If you want DaVinci Resolve to remove background noise from a voice clip, identifying the correct audio track is half the job. A common mistake is attempting to clean the wrong audio lane, then wondering why your audio adjustments resulted in no audible change.
How to remove background noise in DaVinci Resolve
Once you are in the right workspace, the process to remove background noise in DaVinci Resolve is short. If you were searching for a tutorial on how to apply audio noise reduction, follow this simple path.
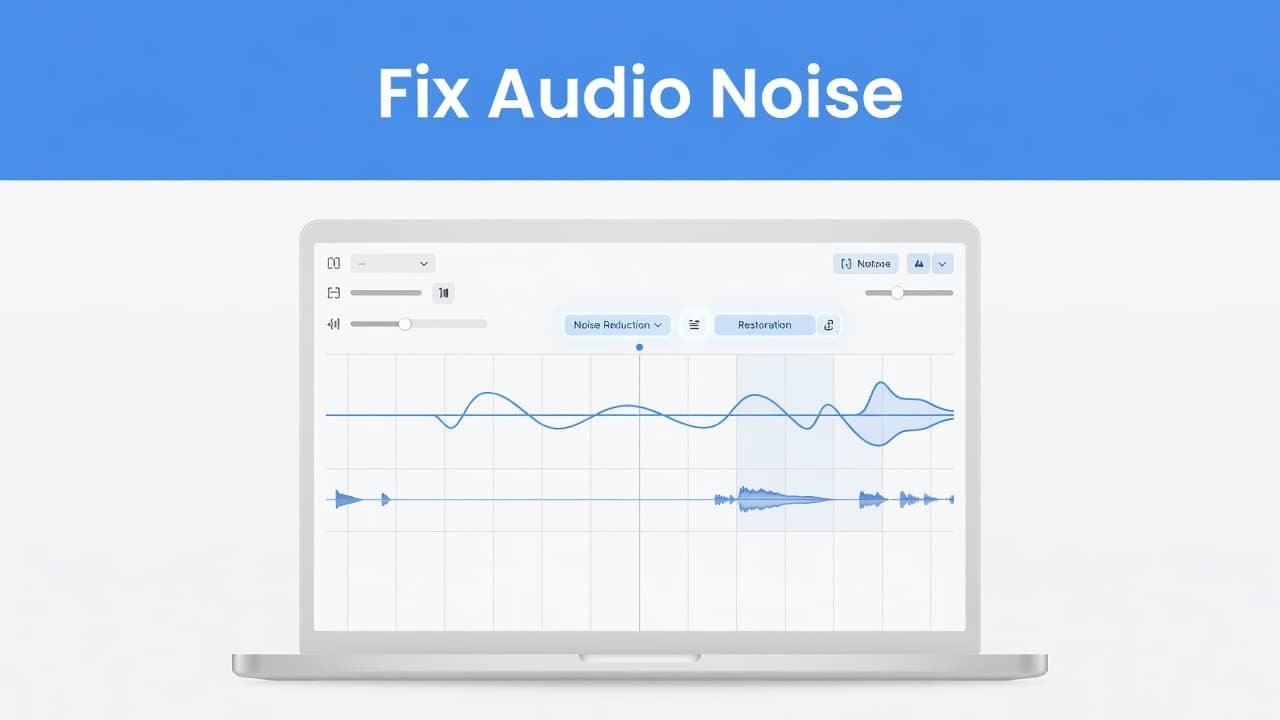
You can access the necessary tools through the Mixer panel or the Inspector tab. Here is the standard workflow:
- Open the Fairlight tab.
- Select the clip with the unwanted noise in your timeline.
- Open the Mixer panel or the Inspector tab to manage your audio effects.
- Under the effects menu for your track, select Restoration and then choose Noise Reduction.
- Ensure the effect is enabled, which is indicated by the red light.
- Toggle Auto Speech Mode and play the clip back to hear the results.
That is the core method. Once Auto Speech Mode is on, Resolve focuses on the voice while applying background reduction to the surrounding audio. You can also switch to Manual Mode if you need more control. If you have a specific, persistent sound, use the Learn feature to capture a noise print, which helps the software specifically target those frequencies.
If you came here looking for a quick way to denoise in DaVinci Resolve, this is usually enough for most voice clips. It is the tool most people mean when they search for audio noise reduction, noise reduction in DaVinci Resolve, or a simple way to reduce background noise in DaVinci Resolve without getting lost in advanced settings.
This effect works best on steady noise. It can help with light hiss, air conditioning, computer fan sound, and low room tone. It is less effective on sudden sounds like keyboard hits, barking, or a door slam. For that kind of cleanup, you may need manual edits or automation instead of relying on one effect to perform professional noise reduction in DaVinci Resolve.
When the noise reduction sounds worse than the noise
The most common problem is over-processing. If your voice starts sounding watery, robotic, or like it is coming through a tunnel, the cleanup is doing too much.
Clean audio should still sound like your real voice. If the noise is lower but the speech sounds damaged, back off and compare again.
If the result sounds robotic
Start by checking that Auto Speech Mode is the main change you made. Then listen again with headphones. Small laptop speakers can hide problems that show up right away once you hear the track more clearly.
It also helps to toggle the effect off and on a few times while listening to a short section with speech. That before-and-after check is one of the best ways to judge DaVinci Resolve noise reduction. When people search for how to get rid of background noise in DaVinci Resolve, they often focus only on removing noise and forget that keeping the voice natural matters just as much.
This is especially true if you are trying to fix background hiss in DaVinci Resolve on a voice-over track. A little leftover room sound is usually better than a voice that sounds chewed up. If you are struggling to achieve effective audio restoration on a particularly difficult clip, DaVinci Resolve Studio offers advanced options like Voice Isolation, which can produce cleaner results than standard noise reduction. After your cleanup, you might also consider using the AI Dialogue Leveler to help balance your voice and maintain consistent volume throughout the edit.
If you cannot find the option
If the Noise Reduction effect is missing, make sure you are on the Fairlight page and looking at the correct track’s Effects area in the Mixer. Menu names can vary a little by version, and some installs may show different audio tools depending on the edition you are using.
If you want a second visual reference for the same general path, this Fairlight noise reduction walkthrough shows the Mixer -> Effects -> Noise Reduction flow in a similar way. While DaVinci Resolve Studio includes professional tools like Voice Isolation, those are distinct from the standard Noise Reduction effect, and you do not need them to perform basic cleanup.
Small workflow tips that make cleanup easier
The best DaVinci Resolve audio cleanup guide is usually the one that keeps things simple. Apply noise reduction early enough that you can judge your voice clearly, but recheck it again after you add music or other tracks. Background music can hide problems during editing, then the background noise shows up again after export.
If you are working with more than one microphone, do not assume every audio track needs the same treatment. A lav mic, a USB mic, and camera scratch audio usually respond differently. Keeping each source on its own track makes DaVinci Resolve noise reduction easier to control, because you are not forcing one cleanup setting onto everything. For more advanced control, you can use an expander or a gate to automatically silence low-level audio during gaps in your speech.
A few habits help more than people think:
- Record closer to the mic when you can, without clipping the audio.
- Cut noise at the source before editing, especially fans and echo.
- Capture a few seconds of room tone during your session to help with restoration tools.
- Check the finished audio on both headphones and speakers.
- Turn the playback up a little before export, because faint hiss is easier to catch that way.
If you also need to clean up what is on screen, not only what you hear, this guide on masking and tracking for blur fits well with the same kind of Resolve workflow. And if you want another quick example of how to denoise in DaVinci Resolve with Fairlight, this Fairlight YouTube tutorial gives you another visual pass through the tool.
Frequently Asked Questions
Is the noise reduction tool available in the free version of DaVinci Resolve?
Yes, the standard Noise Reduction effect found in the Restoration menu is available in the free version of DaVinci Resolve. While more advanced AI-powered tools like Voice Isolation are exclusive to the Studio version, the core noise reduction features are fully capable of handling standard hiss and hum.
Why does my audio sound robotic after using noise reduction?
Your audio likely sounds robotic because the noise reduction effect is being pushed too hard or is over-processing the frequencies of your voice. Try backing off the strength of the effect or ensure you are not using “Manual” settings that might be aggressively cutting into the natural human vocal range.
Should I apply noise reduction to every audio track?
No, you should only apply noise reduction to tracks that actually contain unwanted background interference. Applying the effect globally can negatively impact the quality of audio that is already clean, so it is best to treat each track individually based on its specific recording conditions.
What is the difference between Auto Speech Mode and Manual Mode?
Auto Speech Mode is designed to automatically detect and preserve human voice frequencies while suppressing background noise, making it the best choice for beginners. Manual Mode provides you with deeper control over specific frequency ranges, which is useful when you need to target a very specific, persistent sound that Auto mode might miss.
Prefer Visual Help? Watch the Step-by-Step Video Guide!
Struggling with How to Remove Background Noise in DaVinci Resolve? This video visually walks you through the steps so you can follow along more easily.
Watch TutorialClean audio is usually one quick pass away
If you want to learn how to remove background noise in DaVinci Resolve, the shortest path is often the most effective. Navigate to the Fairlight page and follow this menu path: Mixer, Effects, Restoration, Noise Reduction, and then select Auto Speech Mode. Once you have applied the effect, the most important step is listening for the right balance; you want to reduce the unwanted interference while maintaining a natural voice.
That is how you ensure DaVinci Resolve handles your audio processing effectively instead of making your track sound unnatural or robotic. Remember that you are not necessarily trying to erase every single trace of the room. Your goal is simply to make your speech clearer, which is usually the best way to remove distracting background noise and elevate the quality of your entire video.