If you want to know how to sharpen video in Premiere Pro, the main thing to understand is that the regular Sharpen effect works, but it can get ugly fast. As a versatile video editing software, Premiere Pro offers several built-in tools to help you clarify your footage without needing expensive third-party plugins.
Learning how to sharpen video in Premiere Pro is a crucial step in the post-production process to ensure high-quality output. In most cases, Unsharp Mask gives you a cleaner result than the standard sharpen filter, especially when your footage starts looking crunchy or grainy.
Here is the method to use, what settings to try first, and what to watch for before you push the effect too far.
Key Takeaways
- Understand limitations: Sharpening enhances edge definition to improve clarity, but it cannot recreate missing information or fix footage that is severely out of focus or low-resolution.
- Prioritize Unsharp Mask: While the standard Sharpen effect is quick, the Unsharp Mask tool provides significantly cleaner results by increasing contrast at edges without creating harsh digital artifacts.
- Avoid over-processing: Pushing sharpening sliders too far leads to jagged edges, increased noise, and a brittle, unnatural look; always monitor your results at 100% zoom.
- Use a subtle approach: Sharpening should be treated as a finishing touch for select clips; apply it sparingly to avoid drawing attention to background grain or artificial image noise.
What sharpening can and can’t fix
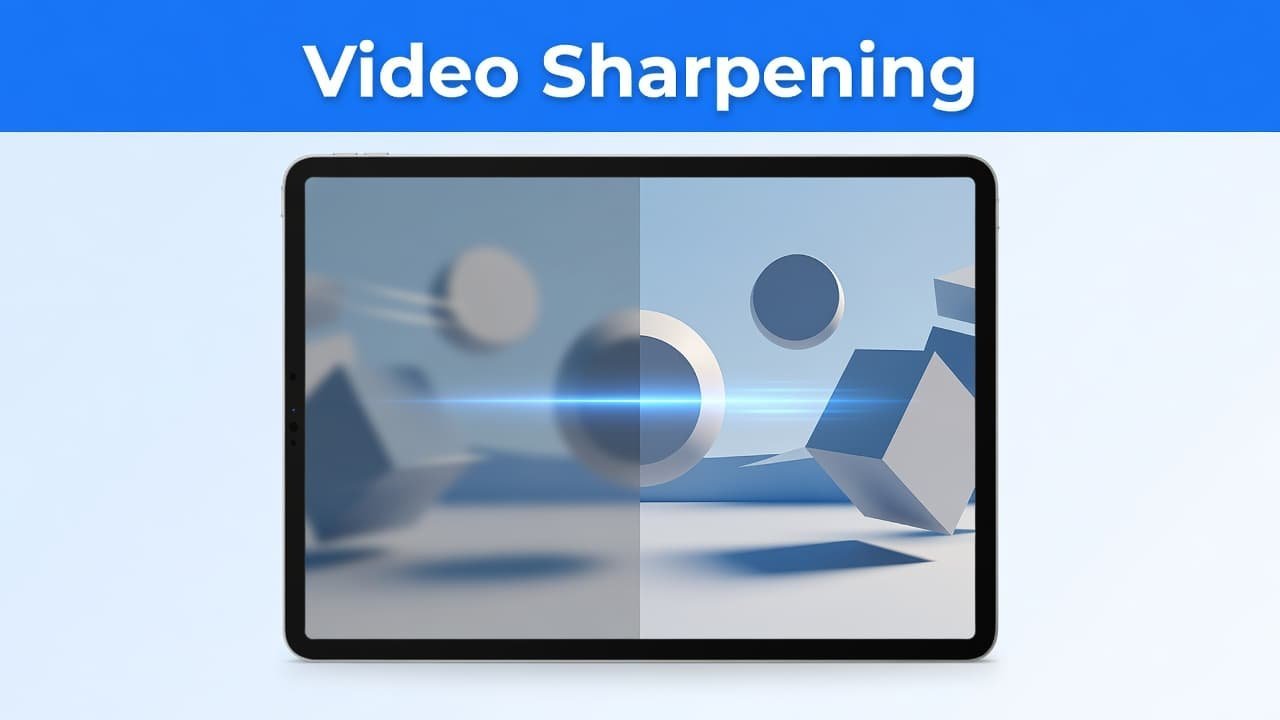
If you are trying to sharpen a video in Premiere Pro because your clip looks soft, these tools can help. Sharpening is effective at improving edge definition and overall video quality to make details feel crisp and clear.
What it cannot do is recreate information that was never captured in the first place. If you are looking for how to fix blurry video in Premiere Pro, improve video quality in Premiere Pro, or even how to increase video resolution in Premiere Pro, it is important to keep your expectations in check. Sharpening improves perceived clarity, but it does not actually increase the resolution or fix out of focus footage. Furthermore, if you are working with low quality footage or clips affected by heavy video compression, achieving professional results becomes significantly more difficult regardless of the sharpening method you choose.
This is why some people treat Premiere Pro like a magic video enhancer and get disappointed when a poorly shot clip still looks soft. You can improve soft footage slightly, but you usually cannot turn a completely blurry clip into a high-definition one.
The good news is that small adjustments often go a long way. If your clip is already decent and only needs a little more bite, Premiere Pro built-in sharpening tools can get the job done effectively.
If your footage already has noise, sharpening can make that noise stand out more.
Use the regular Sharpen effect first
If you want the fastest way to increase video sharpness in Premiere Pro, start with the built-in Sharpen effect.
- Open the Effects panel.
- Search for Sharpen.
- Drag the effect from the Effects panel onto your clip in the timeline panel.
- Select the clip, then adjust the Sharpen setting in the Effect Controls panel until the image looks better.
This is the basic Premiere Pro sharpen filter, and it is easy to use. If you only need a tiny boost, it may be enough. Additionally, you can apply a sharpening effect by navigating to the Lumetri Color panel and opening the Creative tab. This provides a more modern workflow for quick adjustments.
That said, this effect has a limit. The more you push it, the more likely you are to see rough edges, extra noise, and that brittle digital look that makes footage feel worse instead of better.
Why the regular Sharpen effect starts to break down
This part can confuse people because the clip may look sharper for a second, then fall apart as you raise the value.
Common signs of over-sharpening are:
- edges that look harsh or jagged
- extra grain or noise in flat areas
- visible pixelation around fine detail
If you notice those problems, don’t keep pushing the slider. Back it off, or switch methods.
## Use Unsharp Mask for a cleaner result
If you want a better way to sharpen video Premiere Pro clips without those ugly artifacts, use Unsharp Mask instead.
The name throws people off, but this is often the better choice for sharpening video in Premiere Pro. This tool works by increasing the contrast between pixels to achieve edge enhancement, which makes the image look clearer without the same pixelated edge buildup you get from the regular Sharpen effect.
Here is how to use Unsharp Mask in Premiere Pro:
- Go to the Effects panel.
- Search for Unsharp Mask.
- Drag it onto your clip.
- Open the Effect Controls panel for that clip.
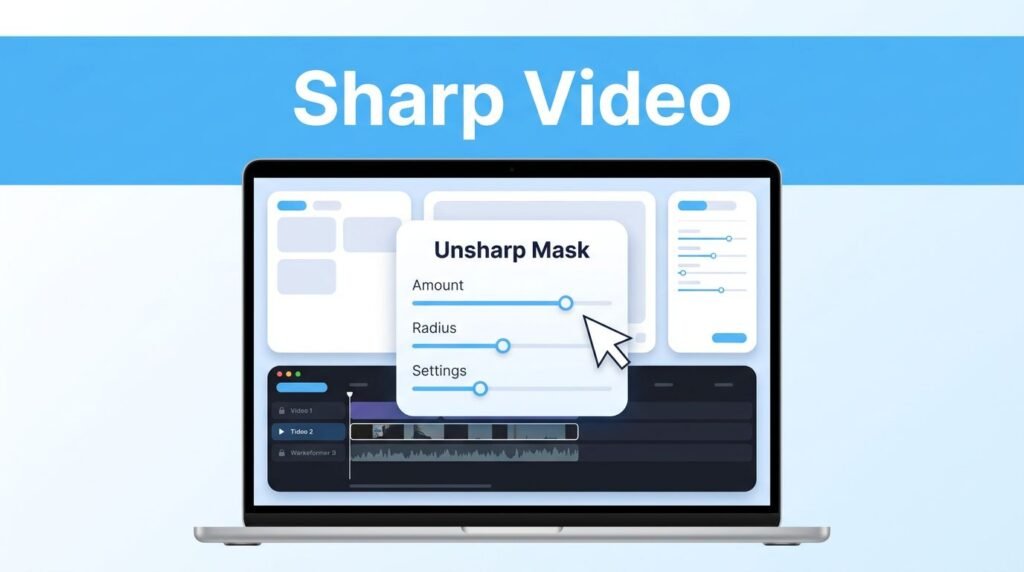
- Set Amount to 50.
- Set Radius to 25.
Always monitor changes in the program monitor at 100 percent zoom to see the results accurately. These are the starting values shown here, and they are a solid place to begin if you want to increase video sharpness in Premiere Pro without making the shot look fake.
When fine-tuning, the Threshold setting determines how much contrast is required before an edge is sharpened. Increasing the Threshold can help you avoid sharpening skin texture or background noise. The takeaway is simple: Amount 50, Radius 25, and a careful Threshold adjustment usually give you a sharper image with fewer harsh artifacts than the standard Sharpen effect.
If you want a deeper breakdown of the extra controls inside this effect, Motion Array has a helpful Unsharp Mask walkthrough for Premiere Pro.
Check the result before you commit
Once you apply either effect, do not judge it too quickly. A common mistake is looking at the clip for a brief moment, seeing more detail, and assuming it looks better. While your goal is to sharpen blurry footage, remember that overdoing edge enhancement can introduce unwanted digital noise and artifacts that ruin your shot.
Instead, compare the clip before and after. Turn the effect on and off in the Effect Controls panel and watch the edges, skin texture, hair, and any noisy background areas. You are looking for a cleaner image, not a crunchy one. A pro tip to maintain color integrity is to change the blend mode of your sharpening effect to Luminosity, which helps avoid distracting color fringing.
If you are trying to learn how to improve video quality in Premiere Pro, this is the part that matters most. Sharper is not always better. A smooth, natural result usually looks more professional than a clip that has been pushed too hard.
It also helps to test both methods on your actual footage. Some clips respond fine to the regular Sharpen effect at a low setting, while others look much better with Unsharp Mask from the start. If you need to apply identical sharpening settings to a group of clips simultaneously, consider using a nested sequence to streamline your workflow and ensure consistency across your edit.
If you are keeping the whole project inside Premiere Pro, you can pair these adjustments with other built-in edits and even animate lines in Premiere Pro if you are adding graphic callouts after you clean up the shot.
Common questions about sharpening footage
What if you can’t find Sharpen or Unsharp Mask?
Navigate to the Effects panel and utilize the search bar to locate these tools quickly. In almost all versions of Premiere Pro CC and newer releases, these sharpening tools are built directly into the software. If your Effects panel is not currently visible, you can easily restore it by selecting it from the Window menu at the top of your screen. Using the search bar remains the most efficient way to access these effects, regardless of which version or workspace layout you are using.
Can you fix blurry footage with sharpening?
Sharpening can occasionally help if a clip is only slightly soft, but it has significant limitations. If your footage is badly out of focus, extremely low resolution, or heavily compressed, sharpening cannot magically restore missing detail. This is the primary hurdle when people search for how to fix blurry video in Premiere or how to enhance video quality in Premiere Pro. It is important to remember that sharpening is essentially the opposite of a Gaussian blur, and it works by increasing contrast at edges rather than creating new data. If the source footage is severely compromised, no amount of post-processing will replicate a perfectly focused shot.
Do I need third-party plugins for better results?
While Premiere Pro includes excellent built-in tools, they may not always be enough for professional-grade projects. If you need more advanced control over the texture and clarity of your footage, third-party plugins like Samurai Sharpen can offer superior results. These tools provide nuanced adjustments that help you maintain high video quality without introducing unwanted digital artifacts.
Should you sharpen every clip in your project?
Usually, the answer is no. You should only apply sharpening where it provides a genuine benefit. Some shots already contain sufficient detail, and adding excessive sharpening across an entire timeline can make background noise more obvious. It is best to treat sharpening like seasoning in a dish; a little can help the image pop, but too much will quickly ruin the shot.
Prefer Visual Help? Watch the Step-by-Step Video Guide!
Struggling with How To SHARPEN VIDEO In Premiere Pro? This step-by-step video tutorial walks you through the entire process visually, making it easy to follow along and apply each adjustment with confidence.
Watch TutorialThe cleanest way to sharpen footage
If you want to know how to sharpen video in Premiere Pro while maintaining professional results, the Unsharp Mask effect is your best option. We recommend starting with an Amount of 50 and a Radius of 25. This approach provides a much more refined outcome than basic tools, allowing you to sharpen video in Premiere Pro without introducing the rough, pixelated artifacts often caused by aggressive sharpening.
While the standard Sharpen effect has its uses, it is easy to overdo. For the best video quality, keep your adjustments subtle and focus on what looks natural to the human eye. The goal is to enhance clarity without making your footage look processed or digital. Always step back and view your work as a whole, because the best sharpening effect is the one that stays invisible to your audience.