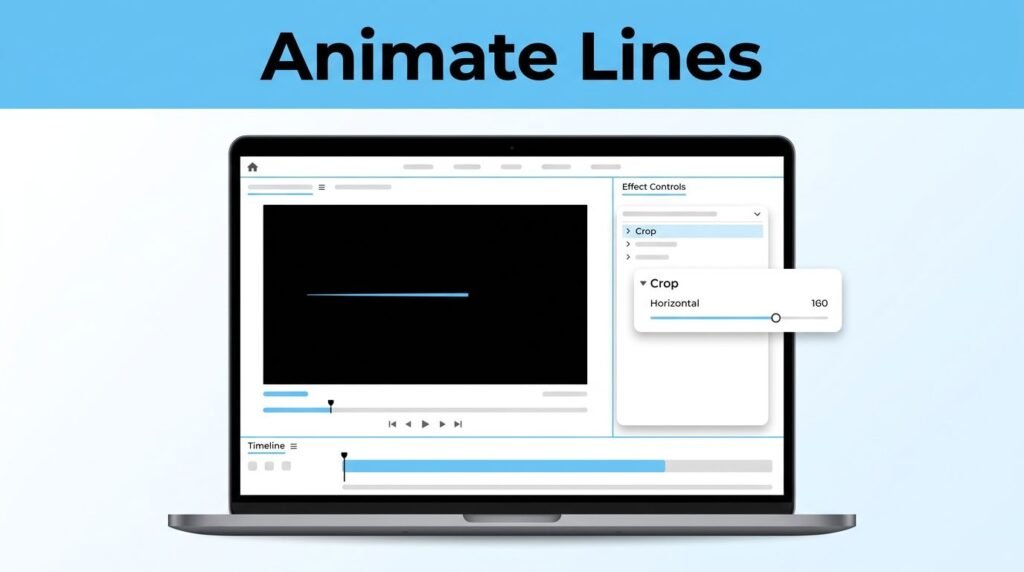
If you want to learn how to animate lines in Premiere Pro, the most efficient method is to draw a graphic line, remove the fill, add a stroke, and reveal the shape using Crop keyframes. You do not need any external plugins, and you certainly do not need to switch to After Effects to get professional results. By staying within Adobe Premiere Pro, you can maintain a streamlined workflow while creating high quality motion graphics.
This technique is perfect for adding visual interest to map paths, callouts, zigzags, underlines, or other simple graphic elements in Adobe Premiere Pro. Once you have established your line as a graphic clip, the animation process is incredibly fast and intuitive.
Key Takeaways
- Use Built-in Tools: You do not need plugins or After Effects to animate lines; you can achieve professional results using only the native Pen tool, Essential Graphics, and the Crop effect.
- The Reveal Method: The most efficient workflow involves drawing a path with a stroke, then using Crop keyframes to hide and reveal the line gradually over time.
- Directional Control: By adjusting different Crop parameters (Left, Right, Top, or Bottom), you can easily animate lines moving in any direction, including vertical, horizontal, or angled paths.
- Keyframe Timing: The animation speed is controlled by the distance between your keyframes, and applying “Ease In” or “Ease Out” can help smooth the movement for a more polished look.
What you need to know before you start
This Adobe Premiere Pro line animation tutorial relies on built-in tools rather than complex external plugins. The line is not being redrawn point by point by a specialized effect. Instead, you create the line first, then use the Crop effect to reveal it over time. This approach acts as a simple masking method to hide and show parts of your graphic.
While users familiar with After Effects might be used to the Trim Paths feature for this specific look, we are achieving the same result here by utilizing internal effects. Because the animation is driven by keyframes within the Effect Controls panel, the result looks like a hand-drawn motion. Understanding this technical requirement makes the setup process much easier to manage.
You can use this same workflow whether you need to animate a straight line, a vertical path, a horizontal element, or even a curved or zigzagged shape. The primary adjustment you will need to make is the direction of the reveal. For a standard left to right motion, you will typically animate the Right crop value. If you want the line to draw in from a different angle, simply adjust the Left, Top, or Bottom parameters instead. If you are looking to create a professional line animation in Premiere Pro using tools you already have, this is one of the most efficient methods for beginners.
Draw the line and set the stroke
Start by creating the graphic line itself. Press P on your keyboard to select the pen tool, then click in the Program Monitor to place points and draw your line. If you need a straight line, hold the shift key while using the pen tool to snap your points into perfect alignment. If you want a zigzag, keep clicking to make angled turns.
Do not worry if the shape layer looks rough at first. The important part is getting the path on screen.
In most versions of Premiere Pro, you will style that shape layer inside the Essential Graphics panel. If the panel is missing, open Window, then turn on Essential Graphics.
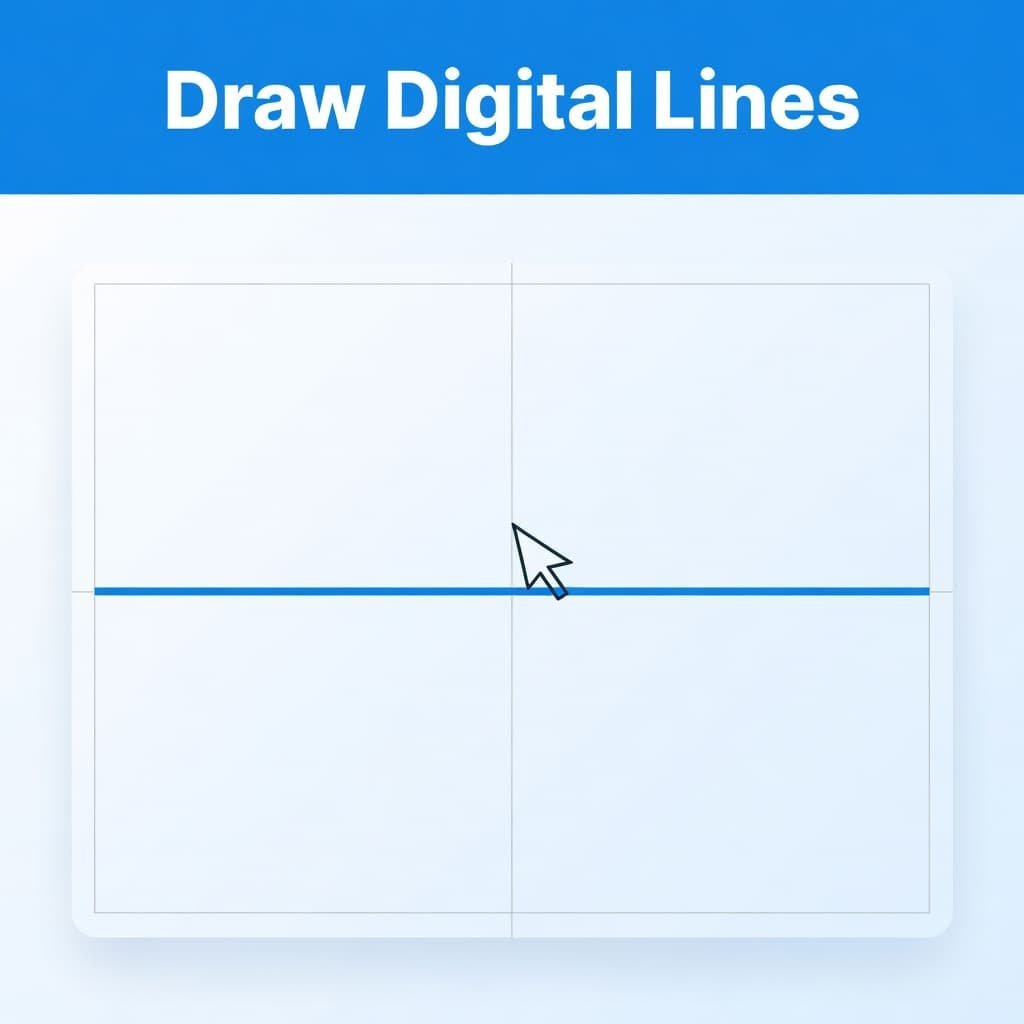
Once the line is selected, turn off Fill. Then turn on Stroke so the path becomes a proper line instead of a filled shape. In the example shown, the stroke color is sky blue and the stroke weight is set to 10, which gives the line a bold, easy-to-see look.
That is the whole setup for the design side. If you want a thinner or thicker result, change the stroke weight to match your project. For quick map animation in Premiere Pro or clean graphic accents, a medium stroke usually reads well without feeling too heavy.
Reveal the line with the Crop effect
Now you are ready for the animation. This is where the line animation effect in Premiere Pro comes together using the crop effect.
- Open the Effects panel and search for Crop.
- Drag the crop effect onto the graphic clip in your timeline.
- Select that clip, then open Effect Controls to begin your adjustments.
- Find the Crop settings within Effect Controls and decide which side you want to animate.
If you want the line to reveal from left to right, use the Right value. That sounds backward at first, but it works because you are hiding the right side of the graphic and then reducing that crop until the full line appears. This approach is similar to using a linear wipe or adjusting transition completion values in other effects.
Next, move your playhead to the point where you want the animation to begin. If you want it to start right away, place the playhead at the beginning of the clip. Then raise the Right crop amount until the whole line disappears.
If the line is still visible at the first frame, keep increasing the crop value until it is fully gone. The reveal will not look clean until the starting frame is hidden.
Once the line is invisible, click the stopwatch next to the Right crop value to create your first keyframe.
Now move your playhead forward in the timeline to where you want the animation to finish. At that point, lower the Right crop amount until the full line is visible again. Premiere Pro will create the second keyframe for you as soon as you change the value.
When you play it back, you should see the line reveal across the screen. That is the core of how to reveal line graphics in Premiere Pro with this method. It is a simple animation effect, but it looks polished when you use it well.
You can change the direction too. If you want the line to move the other way, animate Left instead. If your line needs to reveal vertically, use Top or Bottom depending on where you want it to come from. That makes this useful for more than one kind of Premiere Pro motion graphics lines setup.
Change the speed and fix the usual problems
The speed of the animation comes down to one thing: the distance between your keyframes. If the keyframes are close together, the line reveals faster, while wider spacing creates a slower reveal. This gives you an easy way to match the movement to music, narration, or the pacing of other Premiere Pro animations in your sequence. To smooth out the motion, right-click your keyframes and select ease in or ease out, which adds a professional polished transition to the movement.
A common mistake is leaving too much space between the first and second keyframe, which makes the line feel lazy. The opposite also occurs, as having keyframes too close together can make the animation look like a glitch. While some editors prefer using the write-on effect or a mask path for complex shapes, the crop method remains the most efficient way to animate lines for simple graphics.
If the animation is not working, check these basics:
- Make sure the Crop effect is on the correct graphic clip.
- Make sure you are changing the crop values in Effect Controls, not somewhere else.
- Make sure the first keyframe is at the true start of the movement.
- Make sure the line is fully hidden at the first keyframe and fully visible at the second.
- If Essential Graphics is missing, open it from the Window menu to manage your layers.
- If the line stays visible no matter what you do, go back and confirm that Fill is off and Stroke is on.
- If keyframes do not seem to do anything, double-check that the stopwatch is enabled for the crop value you are animating.
This method also works well when you want to draw animated lines in Premiere Pro for practical edits rather than just decorative ones. A few solid examples are map routes, arrows and pointer lines, and underlines beneath text.
If you want more ideas for using the same effect on other elements, this creative Crop effect walkthrough is a useful next step. And if your graphics look fine in the timeline but soft after export, this guide on how to improve video quality in Premiere Pro can help clean up the final result.
Frequently Asked Questions
Can I use this method for curved or zigzagged lines?
Yes, this method works for any path you draw with the Pen tool. Simply ensure your path is a single stroke, and the Crop effect will reveal the entire line regardless of its shape or direction.
Why does my line disappear instead of drawing in?
This usually happens if you are animating the wrong side of the crop or have your start and end values swapped. Ensure the line is completely hidden at your first keyframe and fully visible at the second by adjusting the corresponding Crop percentage.
Should I use the Write-on effect instead?
The Write-on effect can be more complex to set up and control for simple graphic lines. The Crop method is generally faster and more intuitive for beginners who want to quickly add animated underlines, map paths, or arrows to their projects.
Prefer Visual Help? Watch the Step-by-Step Video Guide!
Struggling with How to Animate Lines in Premiere Pro? This video visually walks you through each step with clear, hands-on instructions so you can follow along and create the effect with confidence.
Watch TutorialThe easiest way to create line animation in Premiere Pro
For most editors, learning how to animate lines in Premiere Pro is quickest when you draw the line as a graphic, style the stroke in Essential Graphics, and reveal it with Crop keyframes. This method is efficient, built directly into the software, and offers precise control over your motion.
Once you feel comfortable with this technique, you can easily adapt it for curved paths, vertical lines, or horizontal elements to elevate your project. Mastering the ability to animate lines serves as the fundamental building block for all types of motion graphics in Adobe Premiere Pro. Ultimately, the success of your visual effect does not depend on the complexity of the shape you draw, but rather on how effectively you hide the element and use clean keyframe timing to reveal it. With these core skills, you have everything you need to create professional motion sequences in Adobe Premiere Pro.