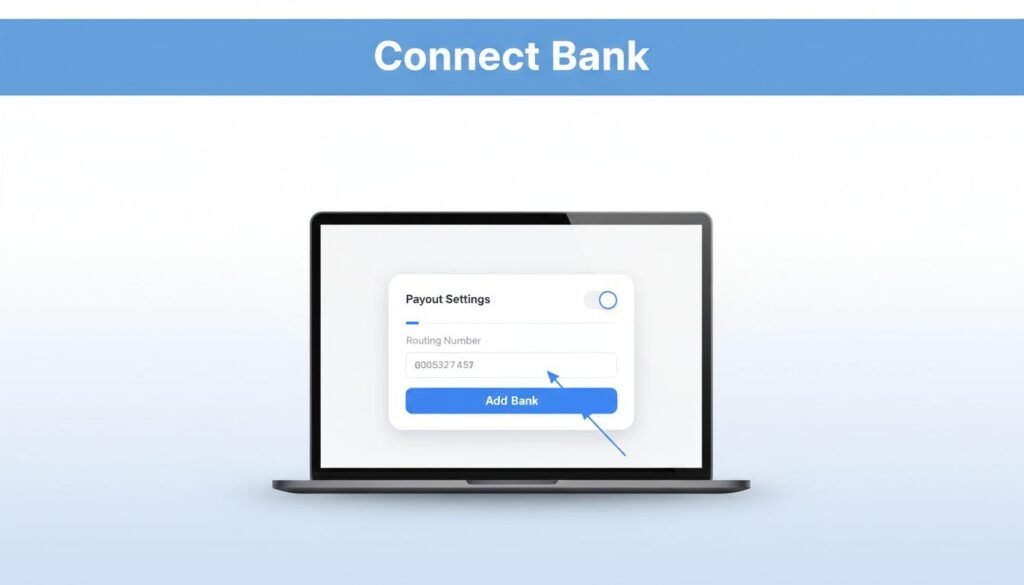
If you are wondering how to connect bank account with Stripe, you can easily manage this process directly through your Stripe Dashboard under the payout settings. The most important step is entering your bank details exactly as your financial institution lists them, then completing any verification steps Stripe requires before you expect your first payouts to arrive.
For those looking to link bank account information in the US, the process typically requires your routing number, account number, account holder details, and the correct account type. Completing this setup is a critical step for receiving funds from the payment processor. Once the account is successfully verified, Stripe can automatically send your available payout funds directly to your preferred bank account.
Key Takeaways
- Prepare Accurate Data: Always have your official bank statements or a voided check on hand when adding bank details to ensure your routing and account numbers are entered without typos.
- Dashboard Setup: Navigate to ‘Bank accounts and scheduling’ within your Stripe Dashboard settings to manage your payout destinations and bank information.
- Complete Verification: Whether using the instant Financial Connections method or waiting for a manual micro-deposit, you must complete the verification steps to successfully receive funds.
- Ensure Data Matching: The name on your bank account must match the legal business or individual name on your Stripe account to avoid processing delays or failed validations.
- Security First: Protect your financial data by only entering details directly into the Stripe Dashboard and enabling two-factor authentication to secure your account.
Have Your Bank Details Ready Before You Start
If you are trying to connect a US bank to Stripe, do not start by guessing numbers from memory. A single wrong digit can delay your onboarding process or cause Stripe bank validation to fail. Having your bank statements or a voided check ready before you begin is vital for a smooth experience.
Keep your official documents or your bank’s online account details open while you work. You will usually need the following information:
- Your bank account holder name
- Your routing number
- Your account number
- Whether you are using a checking account or a savings account
This part can be confusing because the name on your bank account should match the legal details connected to your Stripe account. Your business type also plays a significant role here, as it determines the specific documentation required for verification. For example, if your Stripe account is registered to a business, but you enter a personal account with a different name, Stripe may need more information before it accepts the bank.
Whether you searched for how to link a bank account with Stripe, how to add bank details to Stripe, or how to add bank details to a Stripe account, the safest approach is to ensure accuracy. While some users might prefer the automated Financial Connections method for a quicker link, others may opt for manual entry. If you choose the latter, simply copy each detail from your bank records and review it carefully before saving to ensure your funds are deposited without issue.
Add Your Bank Account in the Stripe Dashboard
The Stripe Dashboard layout can change slightly, but the path is usually found within your account settings. Completing your Stripe payouts bank setup is most efficient in a desktop browser, where the full menu options are easier to navigate.
### Open your payout settings
- Sign in to your Stripe Dashboard through the official website.
- Select Settings. Depending on your dashboard version, you may see a gear icon or a Settings option in the sidebar.
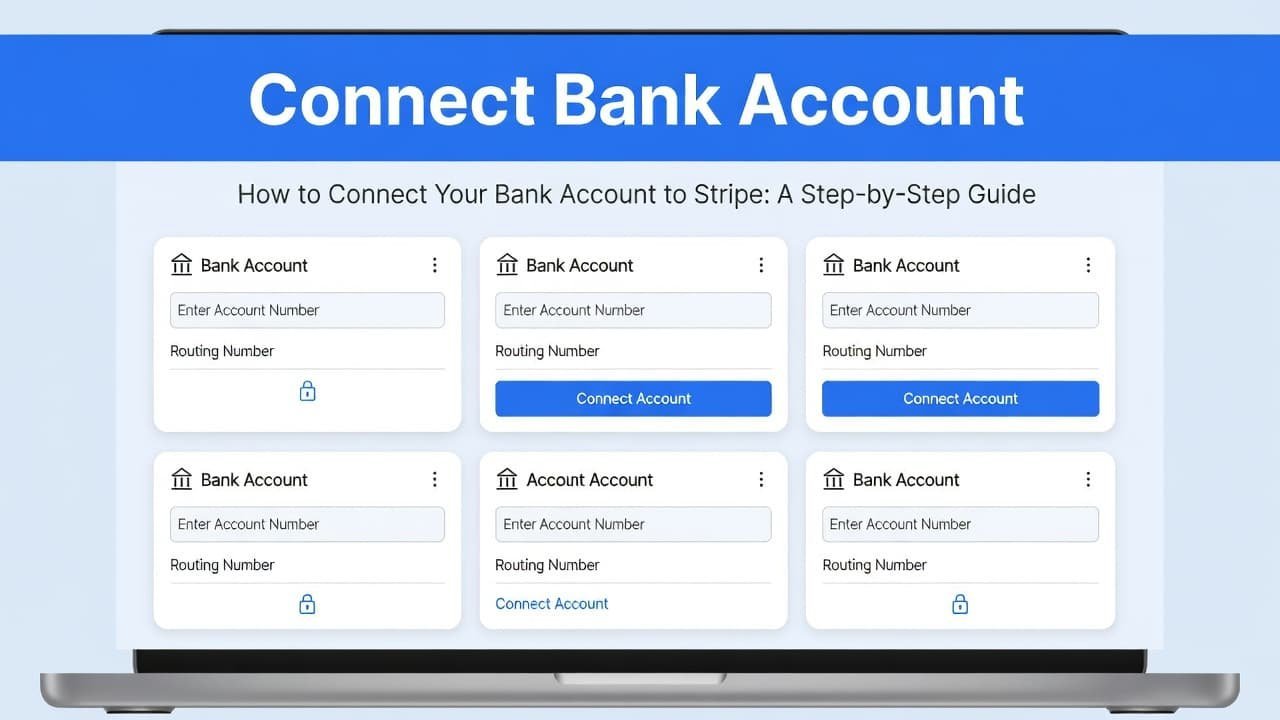
- Navigate to your payout settings by selecting Bank accounts and scheduling. In some dashboard layouts, these options may be listed under your business or account settings.
- Choose Add bank account to begin. Stripe’s official instructions for adding a payout bank account can provide further assistance if your menu wording appears different.
This is the primary area where you manage the financial details Stripe uses for your transfers. If you are searching for how to add a bank account to Stripe or how to add my bank account to Stripe, this is the button you need to click to get started.
Choose the correct country and account information
Select the country where your bank is located. If you are operating on a platform, note that your Stripe Connect account might require specific region settings. Country selection is vital because routing and account number formats differ significantly by location.
If you are also configuring a platform integration, use this guide to find your Stripe Client ID in the Connect OAuth settings.
Next, enter your account holder name, your routing number, and your account number. Do not use a card number, and ensure you are not entering details for an account that cannot accept incoming bank transfers.
Double check every number before you save. A routing number or account number with even one incorrect digit can prevent your bank account from being successfully verified.
Choose Checking or Savings when Stripe asks for the account type. If you are unsure, check your online banking profile or contact your financial institution. Saving the incorrect account type can create unnecessary delays even when your numerical information is correct.
Finally, select Save. Your new bank account should now appear in the payout settings with a status indicator that shows whether Stripe still needs to verify the information.
If you need to know how to connect a new bank account to Stripe, the process remains identical to your initial setup. If you need to add another bank account to Stripe, or add a second bank account to your profile, simply return to this section and select Add bank account again. Once verified, these will be stored as your linked external accounts.
Complete Stripe Bank Verification
After you save your information, Stripe requires bank account verification to confirm ownership. This essential security step protects your payout settings and ensures that your funds are deposited into the correct account.
For many users, Stripe now utilizes Financial Connections to streamline this process. By leveraging open banking technology, you can often verify your credentials instantly through your bank portal, bypassing the need for manual review. This is the fastest and most secure way to connect your external accounts to the platform.
If you are using the manual method to add your linked external accounts, Stripe may send a small test deposit, often called a micro-deposit, to your bank account. Check your online banking transaction list or monthly statement over the next few business days to find this amount. Because these deposits are quite small, they can sometimes be difficult to spot among your regular transactions.
When you locate the deposit, return to Settings > Bank accounts and scheduling in your Stripe dashboard. Enter the exact amount Stripe requests and submit it to finalize the verification process.
This bank account verification guide has one rule that matters most: enter the amount exactly as it appears in your bank activity. Once Stripe confirms the details, your account will be verified and fully prepared to receive your payouts.
What Happens After Your Bank Is Linked
A verified bank account becomes the primary destination for your Stripe account balance. As your chosen payment processor, Stripe automatically sends available funds to your linked bank account based on the specific payout schedule configured in your dashboard settings. If you connected your account using Financial Connections, Stripe may also gain access to your historical transactions and relevant financial data to help improve your service experience and streamline verification.
You can return to Bank accounts and scheduling at any time if you want to review your current payout settings or replace an old account. Please note that Stripe payouts bank setups can look different based on your country, business type, and account status, so do not be concerned if your screen displays slightly different labels.
If you recently added a new bank account, verify that it is explicitly selected for future payouts. Simply adding a new account does not always mean it automatically replaces your previous payout destination, so double check your settings to ensure funds are routed correctly.
Fix Common Bank Connection Problems
If Stripe is not connecting to your bank account, start by double-checking the details you entered. Most connection issues stem from a simple typo, a data mismatch, or a situation where the account information does not align with your Stripe account’s legal details. In some cases, your financial institution may temporarily block the connection for security purposes.
Here are the most common things to check when troubleshooting:
- Re-enter the routing and account numbers directly from an official bank statement or your online banking portal.
- Confirm that you selected either checking or savings correctly.
- Verify that the account holder name matches your Stripe business or individual legal details.
- Check your recent bank activity for the small verification deposit.
- Make sure your bank account is active and enabled to receive ACH or electronic deposits.
It is important to note that bank account verification issues are often part of Stripe’s internal risk assessment process, which helps prevent fraud and keeps your funds secure. A pending verification status usually means Stripe is still waiting for confirmation or processing your information; it does not always indicate a problem with your submission.
If the micro-deposit never appears or if Stripe rejects the amount you enter, do not keep submitting guesses. Review your bank details for accuracy first, then contact Stripe Support if the status does not change after a reasonable timeframe.
Frequently Asked Questions
Can I use a personal bank account for my business Stripe account?
You can, but it is important that the account holder name matches the legal entity name provided to Stripe during onboarding. Using mismatched names can trigger security flags or verification failures that delay your ability to receive payouts.
How long does it take for the manual micro-deposit verification to arrive?
Manual micro-deposits typically appear in your bank account activity within one to three business days. Once you see the small transaction in your bank statement, you must return to the Stripe Dashboard to enter the exact amount and finalize the verification.
What should I do if my bank account verification is failing?
First, double-check that your routing and account numbers were entered correctly and that you selected the right account type (checking or savings). If the information is correct and the issue persists, ensure your bank account is configured to accept incoming ACH transfers and contact Stripe Support if you still cannot resolve the error.
Can I link multiple bank accounts to my Stripe profile?
Yes, you can add multiple bank accounts to your Stripe Dashboard. You can select which account should serve as the primary destination for your payouts in the ‘Bank accounts and scheduling’ section of your settings.
Keep Your Payout Details Secure
Maintaining data privacy is essential when managing your business finances. Only enter your banking information while signed in to your own Stripe Dashboard and prioritize the protection of your financial data by enabling two-factor authentication on your account. Avoid sharing sensitive information, such as routing numbers, account numbers, verification amounts, or login credentials, through email, direct messages, or screenshots.
If the email connected to your account is outdated or inaccessible, change your Stripe email address before updating payout details so verification and security notices reach the correct inbox.
As a best practice for secure sharing, always review your account permissions to ensure that only authorized users have access to sensitive settings. By limiting access and verifying that your Stripe Dashboard remains secure, you effectively safeguard your business assets.
This information is for general educational purposes, not legal, financial, or professional advice. Stripe settings, verification requirements, and payout options can vary by account, location, and platform updates.
Prefer Visual Help? Watch the Step-by-Step Video Guide!
Struggling with How to Connect Bank Account With Stripe for Payouts? This video visually walks you through the steps so you can follow along more easily.
Watch TutorialYour Bank Account Is Ready for Stripe Payouts
Learning how to connect bank account with Stripe is a straightforward process that boils down to three steps: inputting your accurate bank details, saving the information, and completing the necessary verification. Paying close attention to the specifics, such as the account holder name, routing number, and any required micro-deposit amounts, is essential for a smooth setup.
Once the system displays a verified status, you can begin receiving Stripe payouts directly into your chosen account. A verified bank account is also a requirement if you intend to use ACH Direct Debit to collect payments from your customers. If PayPal is available for your account and region, you can also accept PayPal payments in Stripe and route eligible payouts to the bank account you just connected.
Ultimately, utilizing Stripe Financial Connections ensures the final step for managing your payouts remains seamless, secure, and fully integrated with your business operations.