
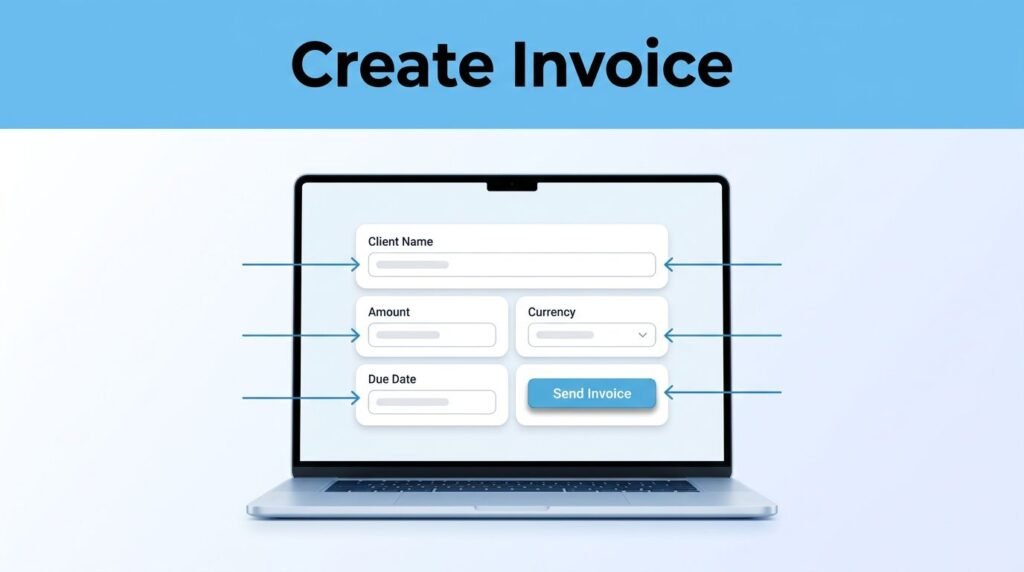
If you need to get paid by a client, learning how to create an invoice in wise, Invoice documents provide them with a clear, professional payment request instead of a vague email. Using a Wise Business account is the most effective way to manage these requests, as it helps you get paid faster and keeps your professional records organized. You can easily add your client details, the total amount, currency, description, and due date before Wise sends the payment instructions directly to their inbox.
The menu names can look a little different depending on your account, country, and whether you are using the Wise app or the website. The important part is finding the option for Create invoice or Request a payment to begin the process.
Key Takeaways
- Use a Business Account: Create professional invoices directly through your Wise Business account to streamline payment requests and keep financial records organized.
- Prioritize Accuracy: Always double-check recipient email addresses, currency, and total amounts before hitting send to avoid costly billing errors or payment delays.
- Provide Clear Descriptions: Include specific project details or reference numbers in your invoice description to help clients identify the services and assist your own bookkeeping.
- Monitor Payment Status: Utilize the Wise dashboard to track whether an invoice is pending or paid, allowing you to follow up professionally on overdue payments.
What to check before you create an invoice
Before you create an invoice using Wise, have your customer details, the correct email address, the total amount, and the currency ready. Stopping halfway through the process to look for a project number or confirm the price is how small invoice mistakes happen.
You should also provide a clear description of services for each bill. A short, specific entry such as “Website copywriting, April 2025” is much better than a generic label like “Services.” This approach gives the client necessary context and provides you with a clearer record for your own bookkeeping later.
If you are looking for a Wise invoicing guide for US users, keep in mind that available features and menu labels can change. If you have a Wise Business account, you will find that creating professional invoices is a key feature designed to streamline your workflow. Sign in on a secure connection, then look in the Payments or Send area of your account.
Before relying on invoicing or payment-request features, make sure you know how to verify your Wise account and complete any pending identity checks.
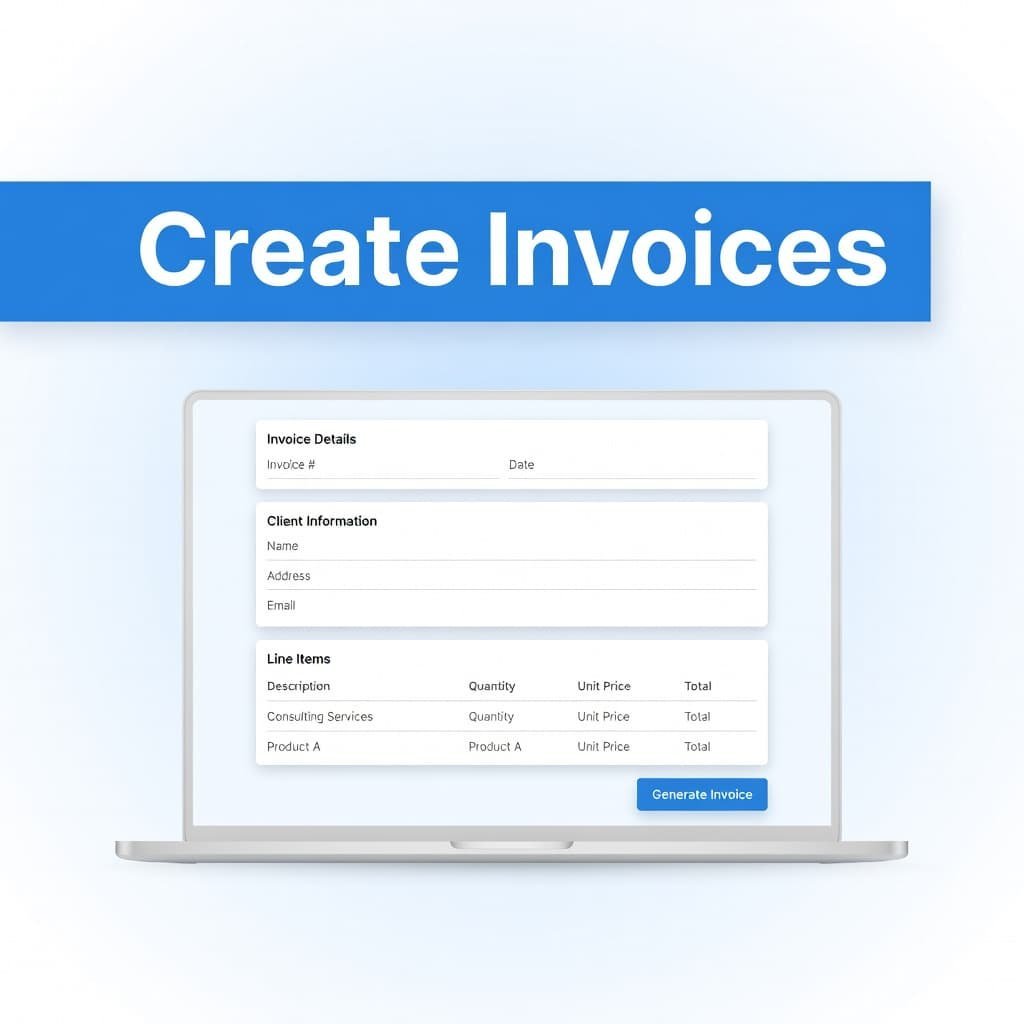
If you do not see a specific Create Invoice option, look for Request a payment. This part can confuse people because Wise may present the payment request workflow instead of a separate invoice button. It still gives you a reliable way to request a Wise invoice payment from your client.
Create an invoice in Wise step by step
To create an invoice with your Wise Business account, start from the main dashboard on the web or by using the Wise mobile app. While the interface layout may vary slightly between devices, the information required remains consistent.
- Open Wise and sign in to your account. Navigate to Payments or Send, then select Create invoice if the option is available. If you do not see it, simply select Request a payment to begin the process.
- Enter your client’s full name and email address. Verify the email address character by character, especially if it was copied from a message, as one incorrect letter will prevent the invoice from reaching your client.
- Add the total amount you want to charge. Carefully double-check these digits before proceeding, particularly when billing in round numbers, such as $1,500 instead of $150. If you need to include tax, ensure your calculation is accurate so that the final total amount reflects the agreed-upon figure.
- Choose the correct currency. This step is essential when working with international clients, as the amount must match the currency specified in your contract.
- Write a clear description of the work, product, or service provided. Including a specific invoice number, project ID, or internal reference note will help you reconcile the payment against your own bookkeeping records later.
- Set a due date to define your payment terms. Providing a visible deadline gives the client a clear expectation for when the funds should arrive, rather than leaving the request open-ended.
- Review every field for accuracy, then select Send to finalize the request.
A good description answers one basic question: “What am I paying for?” For example, “Product photography for May campaign, 12 edited images” is clear and easy to track.
These steps serve as a built-in invoice template, allowing you to generate professional requests without needing external software. By including these key details in your Wise account, you provide enough context to avoid unnecessary back-and-forth emails while ensuring your records remain organized.
Check the currency, amount, and description before sending
The last review takes less than a minute, and it can save you from having to cancel or explain a mistake later. Look closely at the client’s name, email, the invoice number, and the total amount. Be sure to include your business legal name on the document to ensure it is valid for your client’s accounting records. Additionally, verify the currency, due date, and description. Using Wise for these documents is a strategic choice, as it helps you minimize currency conversion fees by utilizing the mid-market exchange rate, which is a significant advantage when you are managing international payments.
Measure twice, cut once. The most common billing issues are a typo in the email address, an amount with a missing zero, the wrong currency, or a description that does not clearly identify the work performed.
Notes and reference numbers are useful if you handle several projects at once. For example, you might add an internal reference like “PRJ-204” so you can match the invoice to your records without putting unnecessary details in the description.
If you still think of Wise by its former name, TransferWise invoicing and a TransferWise invoice refer to the same general task: sending a professional request for payment with the relevant details included.
What your client receives after you send it
After you press Send, Wise delivers the invoice or payment request directly to the email address you provided. Your client receives clear payment instructions, so they are not left guessing where to send the money or which details to use.
That small bit of clarity makes a significant difference. A professional invoice tells the client who the payment is for, what services it covers, the total amount due, and the payment deadline.
If you need to create a document outside the standard payment request flow, Wise offers a free invoice generator that allows you to quickly create a professional PDF invoice. This is particularly helpful when a client requests a traditional document for their records before finalizing payment.
When it comes to receiving money from international payments, these documents help streamline the process. Once your client views the invoice, they can easily pay via bank transfer using the local account details you have included on the document. If you use Wise for your business expenses, you can easily keep these incoming payments separate from the funds you send to vendors or contractors. The Wise money transfer steps and fees guide can help when you need to manage your business cash flow or send funds internationally after you receive payment.
Track invoice status in your Wise dashboard
Return to your Wise dashboard after sending your request to track invoice status effectively. This central hub allows you to monitor whether an invoice is still pending or has been successfully paid, making it much easier to manage receiving money from clients.
A pending payment does not always mean there is a problem. The client may not have opened the email yet, may be waiting for their own internal approval process, or may be planning to pay closer to the due date. If you have clients you bill on a regular basis, check if your account supports recurring invoices to further automate the process and save time.
If the due date has passed, send a short, polite follow-up and include the invoice reference if you used one. If the client says they never received it, first confirm the email address, then ask them to check their spam or promotions folder.
For more general advice on what to include before sending a bill, Wise also has a US guide to sending invoices. Keep your own record of invoice dates, amounts, and reference numbers alongside what you see in your Wise account.
Can you create invoices on Wise from any device?
You can usually start from the Wise website or the Wise mobile app, depending on the features enabled for your specific account. If you are searching for how to create an invoice in the Wise mobile app, look for the Payments, Send, or Request a payment options after signing in.
The interface may look different on mobile because menus are condensed for smaller screens, while the desktop version displays more options at once. If the invoice button seems to be missing on one device, check the web version of Wise before assuming the feature is unavailable.
If you are wondering if you can create invoices on Wise with a personal account, it is important to note that full professional invoices are typically a feature of business profiles. While you may be able to send simple payment requests from a personal profile, a Wise Business account is designed for professional use. A Wise Business account provides local account details, which makes it much easier for your clients to pay you like a local. If you are trying to figure out how to create an invoice in a Wise personal account and the option is not there, use the standard payment request tool or check the help center within your account.
People often search for how to generate an invoice in Wise, but the process remains consistent regardless of the device. You simply add the client, amount, currency, service details, and deadline, then send the professional invoices after a quick review to ensure accuracy.
Frequently Asked Questions
Can I create an invoice using a personal Wise account?
Full professional invoicing features are typically reserved for Wise Business accounts. While you may be able to use a personal account to request a payment, a business profile is better suited for professional billing and tracking.
What should I do if my client says they did not receive the invoice?
First, double-check the email address you entered for any typos. If the address is correct, ask your client to search their spam or promotions folder, as automated emails can sometimes be filtered out.
Why is there no specific ‘Create Invoice’ button in my app?
Depending on your account type or region, Wise may group this feature under a ‘Request a payment’ option. If you cannot find a dedicated invoice button, look for the request feature as it serves the same purpose.
Prefer Visual Help? Watch the Step-by-Step Video Guide!
Struggling with How to Create an Invoice in Wise? This video visually walks you through the steps so you can follow along more easily.
Watch TutorialKeep each Wise invoice clear and easy to track
A professional invoice does not require extra decoration. It needs the correct client email, the accurate amount, the right currency, and a description that makes the charge clear.
Once you send your request, you can monitor the status directly in your dashboard instead of wondering whether the client has paid. Clear details upfront make your Wise invoicing records much easier to follow as you manage multiple clients or projects. If you use a Wise Business account, you can even add a company logo to your documents for a more established and professional feel. Ultimately, the primary goal of using these tools is receiving money efficiently and keeping your business finances organized and easy to track.