
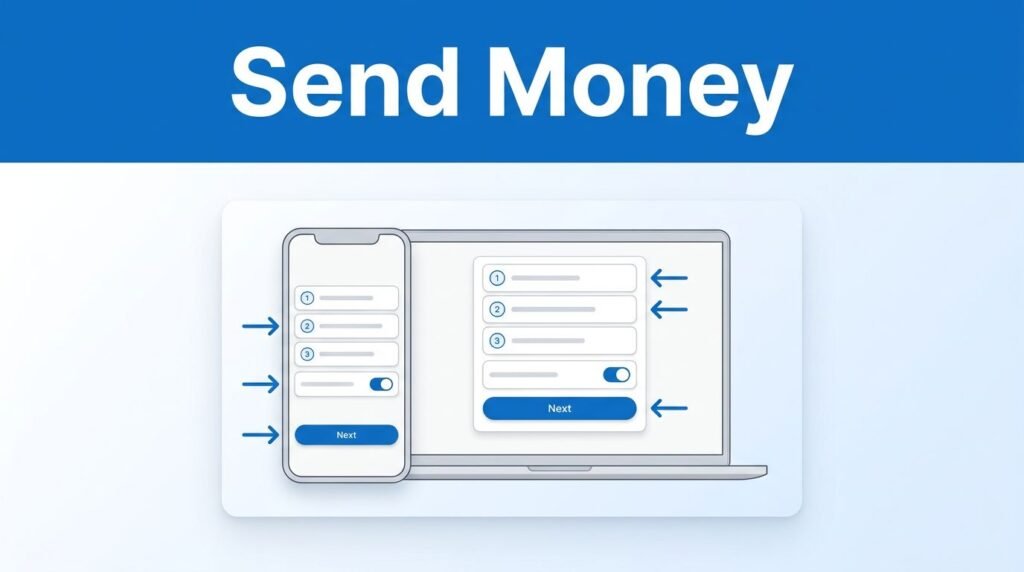
When you need to send money abroad, the process can feel stressful if you are unsure about fees, exchange rates, or the bank details required. This Wise money transfer guide covers every step of your international money transfer to help you manage the process without guessing. With the ability to send money online quickly, you can handle your finances from anywhere with confidence.
You will need a verified Wise account and accurate recipient information before you start. Once those details are ready, most of the process happens from the Send screen in the app or on the Wise website.
Key Takeaways
- Complete verification early: Finish your account setup and identity verification before you need to make a transfer to avoid interruptions or delays when sending funds.
- Prioritize accuracy: Double-check all recipient information, such as bank codes and account numbers, to ensure your money reaches the right destination without errors.
- Compare payment methods: While options like debit or credit cards offer convenience, bank transfers or existing Wise balances often provide the most cost-effective way to send money.
- Review for transparency: Before finalizing, carefully examine the mid-market exchange rate and fees on the summary screen to ensure you understand the full cost of your transaction.
Start With a Verified Wise Account
To begin, open the Wise mobile app or sign in through the Wise website. If you do not have an account yet, you can sign up for either a personal or business account using your email address, Google account, or Apple ID. Embracing online banking through Wise allows you to manage your finances with greater flexibility and ease.
Before you can access all transfer features, Wise may ask you to verify your identity. Completing this step early is highly recommended, as it allows you to unlock additional benefits like receiving local account details for various currencies or ordering your own multi-currency card. Since this process can take a little time, it is better to handle it before you need to send money right away. The official Wise sending money instructions also list sign-up and verification as essential parts of the setup process.
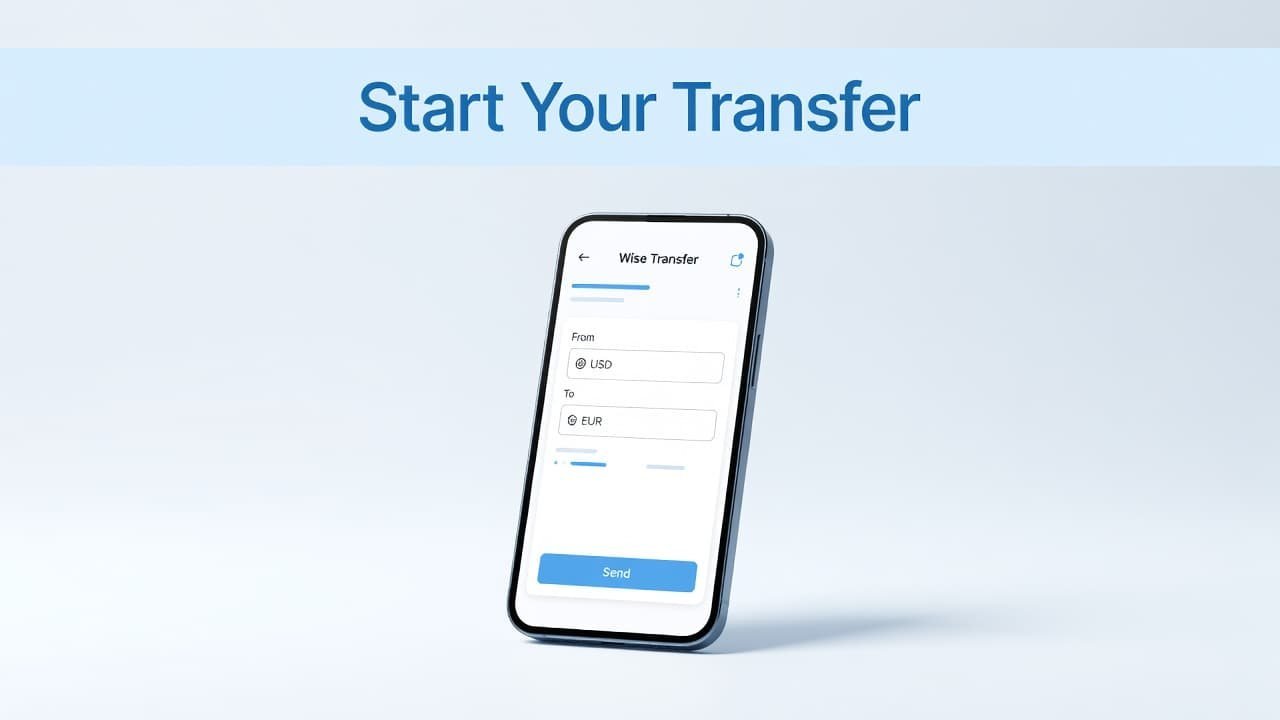
After you sign in, look for the Send button on your home screen or dashboard to start a new transfer.
Verify your account before you need to make a transfer. It avoids getting stopped midway through the payment process.
If you already keep money in different currencies, you may also want to read this guide on converting currencies in the Wise app. Converting from an existing balance is a convenient way to manage your funds before sending them to your recipients.
Enter the Amount and Add Your Recipient
The core of any tutorial on how to send money with Wise involves setting up your transfer correctly from the start. You will enter the amount, select your destination, and provide the recipient’s information.
- Tap or click Send.
- Enter the amount you want to send and choose the currencies to initiate your currency conversion.
- Check the amount your recipient is expected to receive.
- Choose how they should receive the money.
- Add their required payment details.
As you enter the amount, Wise displays the mid-market exchange rate and the applicable fees before you confirm. Because there is no hidden exchange rate markup, you benefit from transparent pricing and low fees. This makes it easier to understand the full cost of your Wise international transfer rather than discovering hidden charges after you pay.
Depending on the recipient’s country, you may be able to send money to:
- A bank account
- A mobile wallet
- Another Wise user
The options on your screen may vary based on specific country rules, currency routes, and the recipient’s location. If you cannot find the mobile wallet option, perform a bank transfer if that is the available method, or ask your recipient which account details they can accept.
For a bank transfer, enter the recipient’s full name, bank name, account number, and any codes the route requires. You may see a SWIFT code for international transfers or an IBAN for countries that use them.
Always double-check your recipient details before finalizing. A single wrong number, missing letter, or incorrect bank code can delay your international money transfer or cause the funds to be sent to the wrong place.
Choose How You Want to Pay
After setting up the recipient, choose a payment method. Wise may offer payment from your bank account, debit card, credit card, existing Wise balance, or other options available for your specific route.
If your funds are currently held in Payoneer, first send money from Payoneer to Wise, then choose your Wise balance as the payment method. If you’re a freelancer or business owner who needs to bill clients, you can also create and send a Wise invoice to get paid for your work.
This is where people often rush. A payment method that is quicker may not be the one with the lowest cost. Before you send money via Wise, look at the final amount and decide what matters most for this transfer. Unlike an traditional international wire transfer, which can often be expensive and opaque, Wise strives to keep costs transparent by avoiding hidden fees.
Wise transfer fees, transaction fees, and general payment fees can vary based on the currencies, route, and chosen method. The amount shown on the transfer review screen is the final total to focus on, as it includes the transparent transfer fee without any hidden fees.
A Wise transfer fee is different from costs that may apply to other account features. In other words, do not assume general account fees, app fees, and specific transfer charges are all the same thing. Always check the details shown for the exact transfer you are about to make to ensure you understand the total cost.
Review the Transfer Before You Send It
Before the money leaves your account, Wise shows a transfer summary. Stop here and check the sending amount, recipient amount, exchange rate, recipient details, payment method, and total Wise charges.
If everything looks right, select Confirm and send. Wise will then process the payment and begin the transfer.
A swift transfer may arrive within minutes or a few hours, but delivery time depends on the route, the specific bank transfer method, and how the payment is funded. It is better not to promise a recipient an exact arrival time until you see the transfer status in your account. Please note that large transfers may require additional verification steps or extra processing time to ensure compliance.
Wise prioritizes security through HTTPS encryption and 2-step verification, providing secure transfers and dedicated safeguarding funds protocols to protect your transactions. You can review its international transfer security details before sending if you want to understand those protections.
Use a private connection when entering bank details and never share your wise password or verification codes. If you notice an error before confirming, go back and fix it. If you spot a mistake after sending, check the transfer status in wise right away for the options available on that transfer. If the payment is still processing, you may be able to cancel a Wise transfer before it reaches the recipient.
Common Questions About Sending Money With Wise
Can you send money to someone who does not use Wise?
Yes, you can easily send funds directly to a recipient’s bank account or mobile wallet. Even if your recipient does not have a Wise account, they can still receive money abroad through the various delivery methods available depending on their country and the specific currency route.
Why is the Send option missing?
You may need to finish your account verification process first. The option can also look different between the mobile app and the Wise website, so check your Home screen for a transfer or send option. Completing your profile setup is the best way to ensure you have full access to initiate your next Wise money transfer.
How do you know what the recipient will get?
Before you confirm, Wise displays the total fee, the mid-market exchange rate, and the final amount your recipient will receive. Review that screen carefully, as it provides full transparency on how the math works when you transfer money with Wise across different currencies.
Prefer Visual Help? Watch the Step-by-Step Video Guide!
Struggling with How to Send Money with Wise? This video visually walks you through the steps so you can follow along more easily.
Watch TutorialSend With the Details That Matter
The safest answer to how to transfer money with Wise is to slow down at the review screen. Enter the recipient details carefully, compare your payment options, and confirm only when the amount, fee, and destination all look right. By taking these precautions, you ensure a reliable international money transfer experience that benefits from low fees and total transparency.
That is how you avoid the small mistakes that can turn a quick request into a delayed transfer. As Wise continues its mission to simplify global money for everyone, following these steps will help you manage your finances with confidence. When you are ready to get started, you can send money online safely by following this simple process.