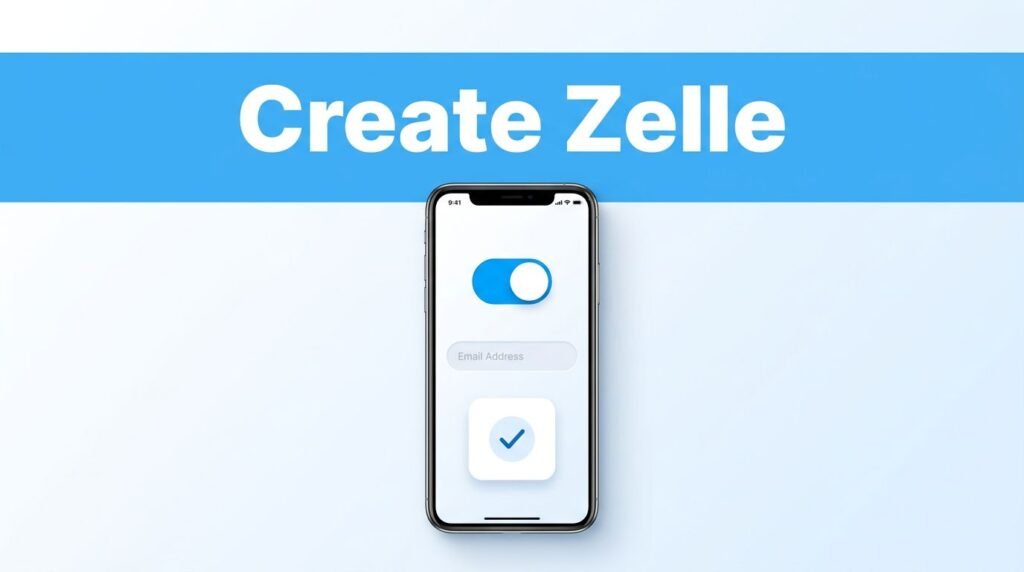
To create a Zelle account, you usually enroll through the mobile app or website of a participating U.S. bank or credit union. Because the standalone Zelle app is no longer available for new enrollment, you should avoid downloading any unofficial apps that claim to set up the service for you.
To get started, you will need a valid U.S. bank account and either a U.S. mobile number or a reachable email address. Once your financial institution confirms your enrollment, you can easily send and receive money or request money from others using the contact information linked to your bank account.
Key Takeaways
- Enroll via your bank: You no longer use a standalone Zelle app; instead, enroll directly through your official banking app or the website of your financial institution.
- Essential requirements: To create an account, you must have an active U.S. bank account and a verifiable U.S. mobile number or email address.
- Safety first: Only send funds to people you know and trust, as Zelle transactions are typically instantaneous and generally cannot be reversed if sent to the wrong recipient.
- Official channels only: Never provide your bank credentials to third-party apps or websites claiming to set up Zelle for you; always use your bank’s verified digital platforms.
The important thing to know before you sign up for Zelle
If you are wondering how to create a Zelle account, the best approach is to enroll with Zelle directly through your mobile banking app. Many banks now feature Zelle under navigation menus labeled Pay and Transfer, Send Money, Payments, or simply Zelle.
This can cause confusion because older instructions often suggest using the standalone Zelle app or connecting a Visa or Mastercard debit card. While those were valid options in the past, new Zelle enrollment now happens primarily through a participating bank or credit union.
Before you start the setup process, have these details ready:
- A U.S. checking or savings account with a bank or credit union that supports the service, including those intended for a small business account
- An authorized U.S. mobile number or email address that you can access immediately
- Your valid online banking credentials
- Your official mobile banking app, or access to your bank website through a web browser
You cannot create a Zelle account without a bank account through the current enrollment process. Your bank or credit union acts as the service provider that connects your financial account to the Zelle network.
Zelle is designed exclusively for U.S. bank accounts. If you attempt to use an international phone number, an overseas bank account, or a financial institution that does not participate in the network, the Zelle account setup process will not be available to you.
How to create a Zelle account step by step
The steps look a little different at each bank, but the general path is the same on iPhone, Android, and your bank’s website.
1. Open your bank or credit union app
Sign in to your usual mobile banking app. If you prefer a computer, sign in on your bank’s official website instead.
Look through the main menu for a way to transfer money. You may see Zelle, Send money with Zelle, Pay & Transfer, or a similar label. If you can’t find it, use the app’s search feature if it has one.
2. Choose the option to enroll
Tap the Zelle option, then choose Get Started, Enroll, or Set Up Zelle. Your bank may show a short explanation of the service before asking you to accept its terms.
Read the screen before moving on. This part often tells you which account will be used when you send or receive money.
3. Add your email address or U.S. mobile number
Choose the contact method you want to use with Zelle. You can usually enroll with either:
- A U.S. mobile number
- An email address you check regularly
Use contact information that belongs only to you. When someone sends you money, they use the email address or mobile number attached to your Zelle profile.
A common mistake is entering an old phone number, a work email you no longer check, or a typo. If the contact method is wrong, you may miss the verification code or have trouble receiving payments.
4. Verify the code your bank sends
Your bank may send a one-time verification code by text message or email. Enter the code exactly as shown to confirm that you control the phone number or email address.
If the code doesn’t arrive, wait a moment and check your spam or junk folder if you chose email. For text messages, make sure you have a signal and that you entered the correct number. Don’t keep requesting new codes too quickly, since the newest one may replace the earlier code.
5. Select the bank account to use
Next, choose the checking or savings bank account you want connected to Zelle. Some banks let you change this later, but it is better to confirm the account now so you do not send money from the wrong place.
After you approve the enrollment details, you should see a confirmation screen. Your bank may take you straight to the Zelle home screen, where you can choose to send or request money, or sometimes select the option to split costs.
What happens after your Zelle account is active
Once your Zelle registration process is complete, you can begin to send and receive money with ease using your email address or phone number. You never need to share your private bank account number with others to complete a transaction.
You can also personalize your profile to make it easier for people to find you. Many banks allow you to set up a unique Zelle tag or share your personal Zelle QR code, which simplifies the process of identifying your account. Adding a recognizable display name and a clear profile photo also helps friends and family confirm that they are sending money to the right person.
When you send money, you simply select a recipient, enter the amount, review the details, and confirm. Money sent to an already enrolled recipient is often available within minutes.
Zelle itself does not charge a fee to send or receive money, but your bank may have its own policies, limits, or account requirements. Be sure to check your payment activity within your banking app to review your transaction history. You can also monitor your account for any pending payment or check if your bank supports setting up a recurring payment for your regular monthly expenses. Always review the terms inside your app before relying on the service for a larger transfer.
Can you create a Zelle account with email only?
You can often create Zelle account credentials using only an email address instead of a phone number, provided that your specific financial institution supports this feature. During the enrollment process, simply select the email option when the app asks how you would like to receive money transfers and verification alerts. After completing enrollment, follow our guide on how to send money with Zelle using just an email address.
It is important to remember that you still need an eligible bank account to participate in the network. You cannot create a Zelle account without a bank account, as the service requires a valid connection to a U.S. financial institution to process transactions.
If you are trying to register without a phone number, you may prefer to use your email address if an authorized U.S. mobile number is not your primary choice or is unavailable. Keep in mind that some banks may still require a mobile number for enhanced account security, so the exact requirements can vary depending on where you bank.
If you can’t find Zelle in your banking app
Not every financial institution participates in Zelle. If you do not see a Zelle option, update your banking app first, then check the transfer or payment menu within your online banking portal again.
You can also sign in through the website of your financial institution. Sometimes the feature is easier to locate there, or the menu name might differ slightly from the one used in the mobile app.
If Zelle still is not listed, contact your bank or credit union directly and ask whether it supports Zelle enrollment. It is important to remember that you should never enter your login credentials into an unrelated money transfer app or website that claims it can register your bank account for you. Always ensure your Zelle enrollment is completed through official, verified banking channels to protect your funds.
Another potential issue is that your phone number or email may already be linked to a different profile. You generally cannot use the same contact method for two separate Zelle profiles at once. To resolve this, remove the contact information from the old profile or use a different eligible email address if your financial institution allows it.
Keep your Zelle payments safe
Zelle is a convenient way to pay a friend back for dinner, send your roommate your share of the utilities, or collect money for a group gift. However, you should only send funds to people you know and trust to protect yourself from fraud and scams. Because Zelle does not offer purchase protection for items bought from strangers, it is not a safe choice for online shopping or marketplace transactions.
Only send Zelle payments to people you know and trust. Once the payment is sent to an enrolled recipient, it can be difficult or impossible to cancel a payment.
Always double check the recipient’s name, phone number, email address, and the total amount before you confirm the transaction. A single wrong digit in a phone number can send your money to the wrong person, and reversing that mistake is rarely successful.
Your bank may also set daily, weekly, or monthly Zelle transfer limits. These limits vary by institution and often depend on your specific account history. If your transfer is declined, it does not always mean your Zelle account has a problem; you may have simply reached a limit or need to contact your bank for assistance.
To stay secure, keep your banking password private, use a strong device passcode, and turn on two-factor authentication if your bank provides it.
Frequently Asked Questions
Can I use Zelle without a bank account?
No, you cannot create a Zelle account without a linked U.S. checking or savings account. Your bank or credit union acts as the essential connection point that powers the service.
Is there a fee to create a Zelle account?
Zelle does not charge fees for sending or receiving money. However, you should check with your specific financial institution, as they may have their own independent policies or service limits.
Why can’t I find Zelle in my mobile banking app?
If you cannot locate the Zelle option, your bank may not participate in the network, or your app may need an update. Check your bank’s official website or contact their customer support to confirm if they support Zelle enrollment.
Can I use my Zelle account for online shopping?
It is not recommended to use Zelle for marketplace purchases or buying items from strangers. Zelle does not offer purchase protection, making it difficult to recover your funds if a transaction goes wrong.
Prefer Visual Help? Watch the Step-by-Step Video Guide!
Struggling with How to Create a Zelle Account? This video visually walks you through the steps so you can follow along more easily.
Watch TutorialCreating a Zelle account without getting stuck
The most secure way to set up your profile is to enroll with Zelle directly through your mobile banking app, which allows you to link your existing financial institution account without needing a separate application. Before you complete your setup, take a moment to verify your email address and mobile number to ensure your account is correctly associated with your contact information.
Once your profile is active, always double-check the recipient details before sending money. Fast payments require careful confirmation, especially since transactions are typically processed instantly and are difficult to reverse. By taking these steps, you can enjoy a seamless experience while keeping your funds protected.
Want to learn How to Cancel a Zelle Payment Before It Goes Through? Here’s a Step-by-Step Guide Article on how to do so.